


How to Design the Perfect Spring T-shirt
Make it a wearable memory!

When we launched Picture This Clothing, my kids were 7 and 11. Something I loved doing with them when they were still that young was using some of their Easter Basket “stuff” to design a keepsake t-shirt or dress.
Spring is here, so I whipped up a “springy” design to show how fun and easy it can be!
STEP 1: Gather Materials
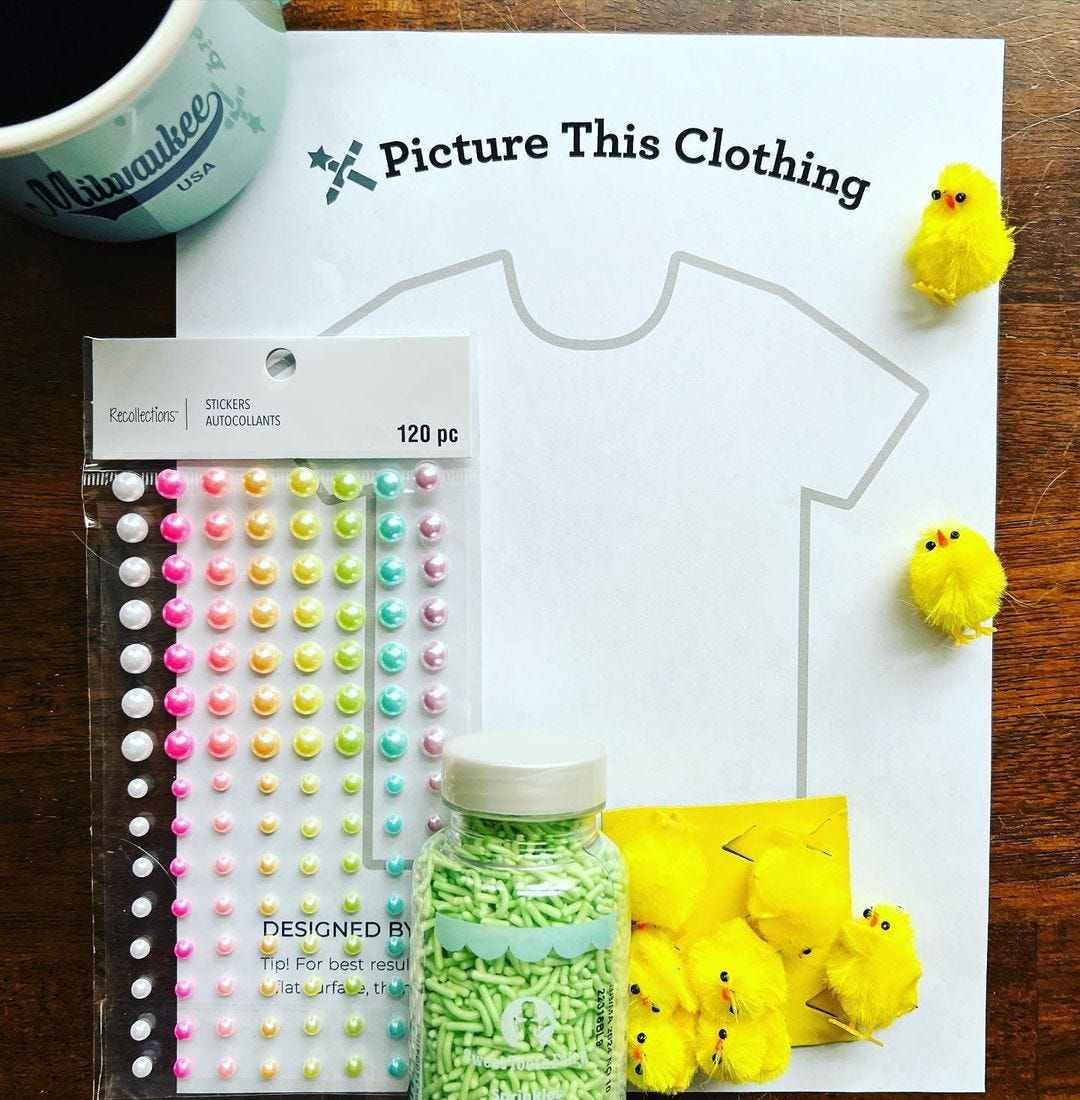
You can use anything! Candy and candy wrappers are a fun one to include.
I’m using a few Easter Basket extras. Here’s my list:
Printed template in the size of your choice from PictureThisClothing.com
Premade ‘pipe cleaner’ chicks from the craft store
A pretty pastel rainbow sheet of pearlescent dot stickers
Decorating sprinkles (which are fun to taste along the way)
Smartphone to take a pic of your finished masterpiece (not pictured, because I used it to take photos)
STEP 2: Play
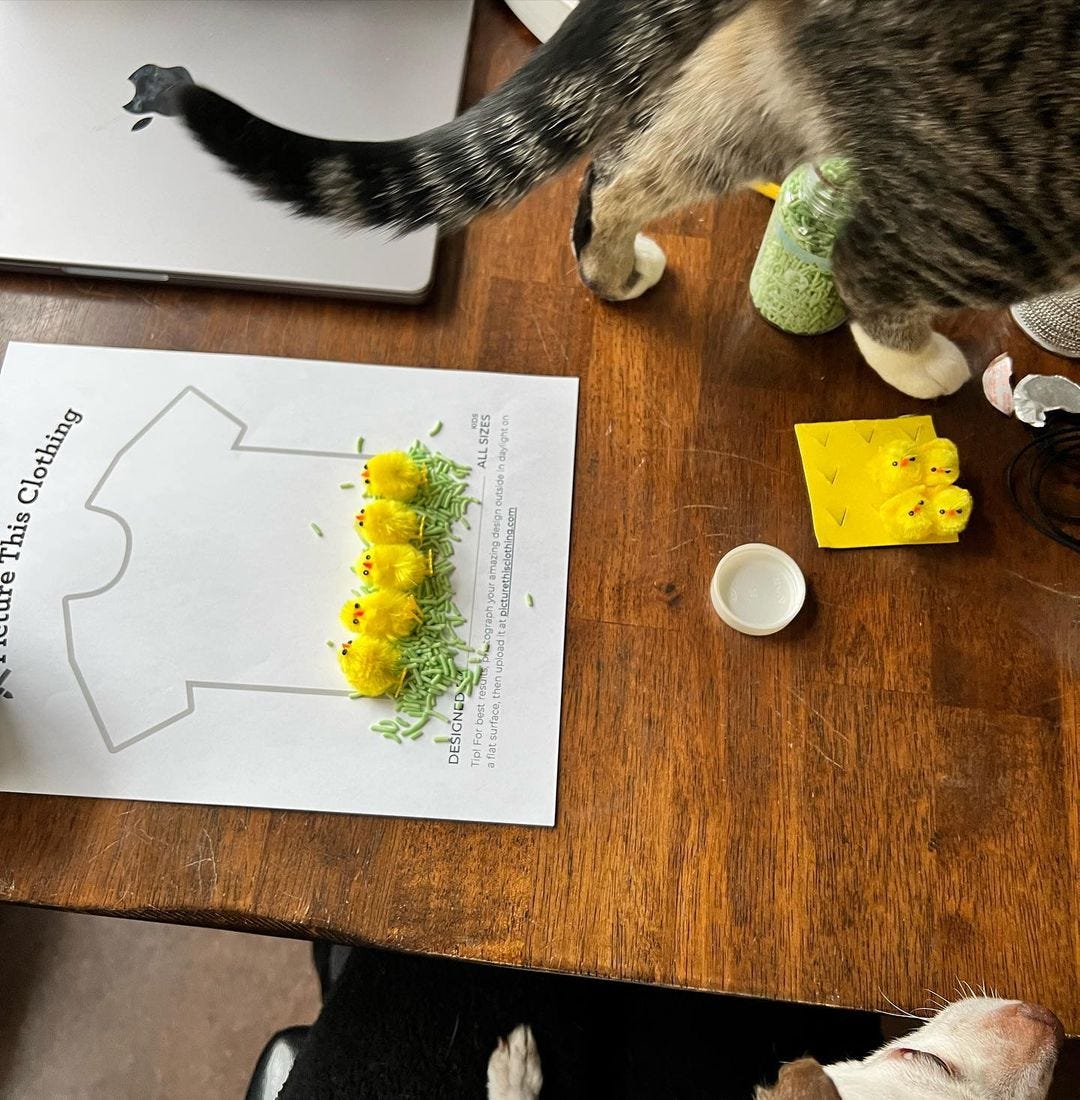
Play! Sometimes it’s fun to print out three or four templates and just PLAY with different designs. Here, I was experimenting with the idea of the sprinkles as grass for the little chicks.
This is a great tool for imaginative exploration. Depending on how many supplies you bring to the table, this activity can keep kids busy for hours. Play until you get something you’re really excited about!
Sidenote: I have pets. Pets think they’re helping.
Step 3: Take a photo
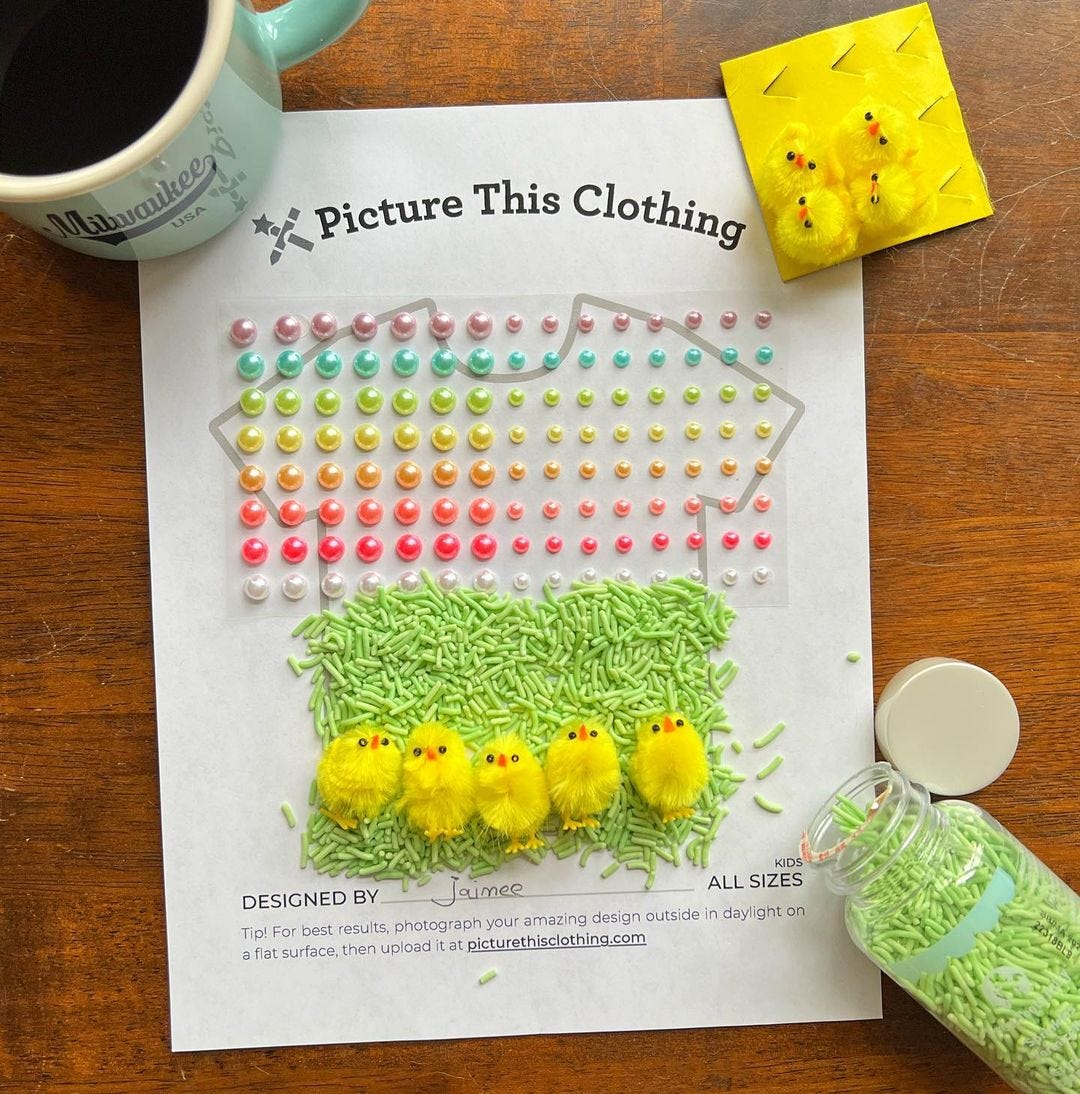
Once you get a design your designer is really happy with, take a photo! I’ll often take photos along the way. Sometimes things change but you like a previous version better. It totally happens.
Tips for taking a great photo:
Make sure your hand isn’t casting a shadow on the artwork
Aim for nice, even lighting
Get as close as possible to the artwork without cropping off the signature line (and make sure the artist signs their name to the “Designed by” line)
Anything inside the gray outline gets printed; anything on or outside the gray outline will not be printed
Bonus note: I highly recommend eliminating as much “white” as you can. The Picture This Clothing t-shirt fabric is pretty lightweight and see-through if left white. Making it a bold color gives it a more solid opacity.
Step 4: Upload that amazing design at PictureThisClothing.com so we can print, cut, sew, and ship it to you, ready to wear!
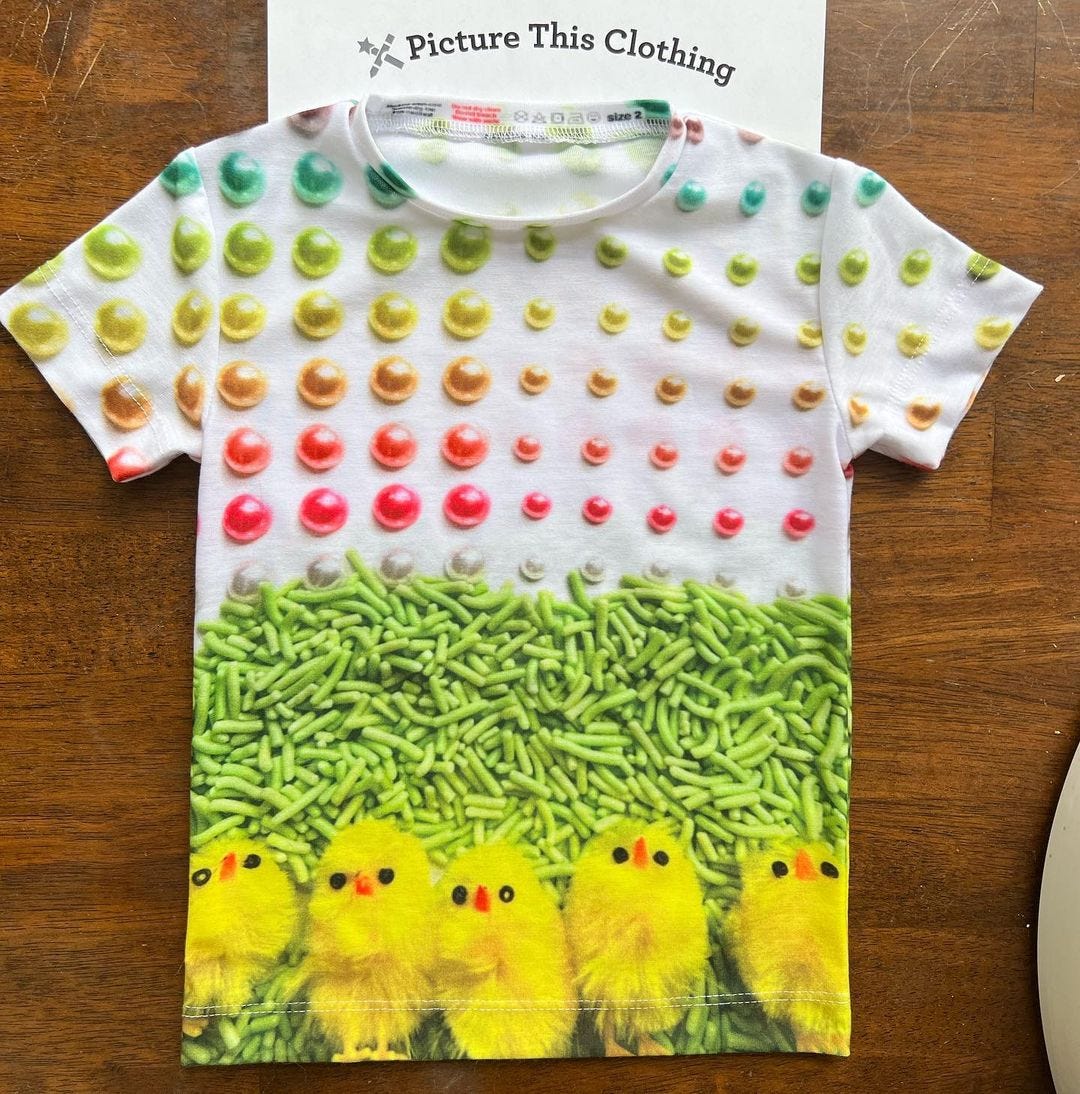
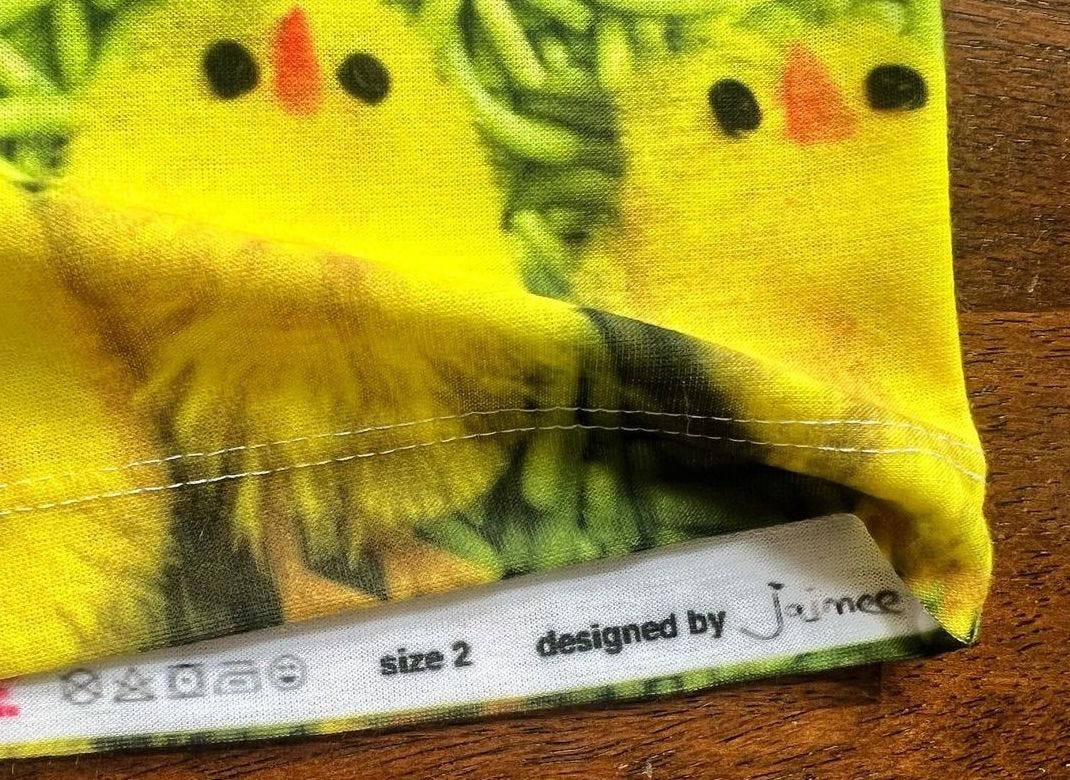
Like magic, this creative experience becomes a magical keepsake. And remember how I said to make sure they sign their name to the “Designed by” line?
Their signature gets printed inside the hem of their one-of-a-kind masterpiece!
If you loved this activity, please share it with friends!
If you have questions or ideas you’d like to see us try, email us: hello@picturethisclothing.com
Thanks folks!
-Jaimee