Repurposing an Old Diorama
From School Project to Style Statement
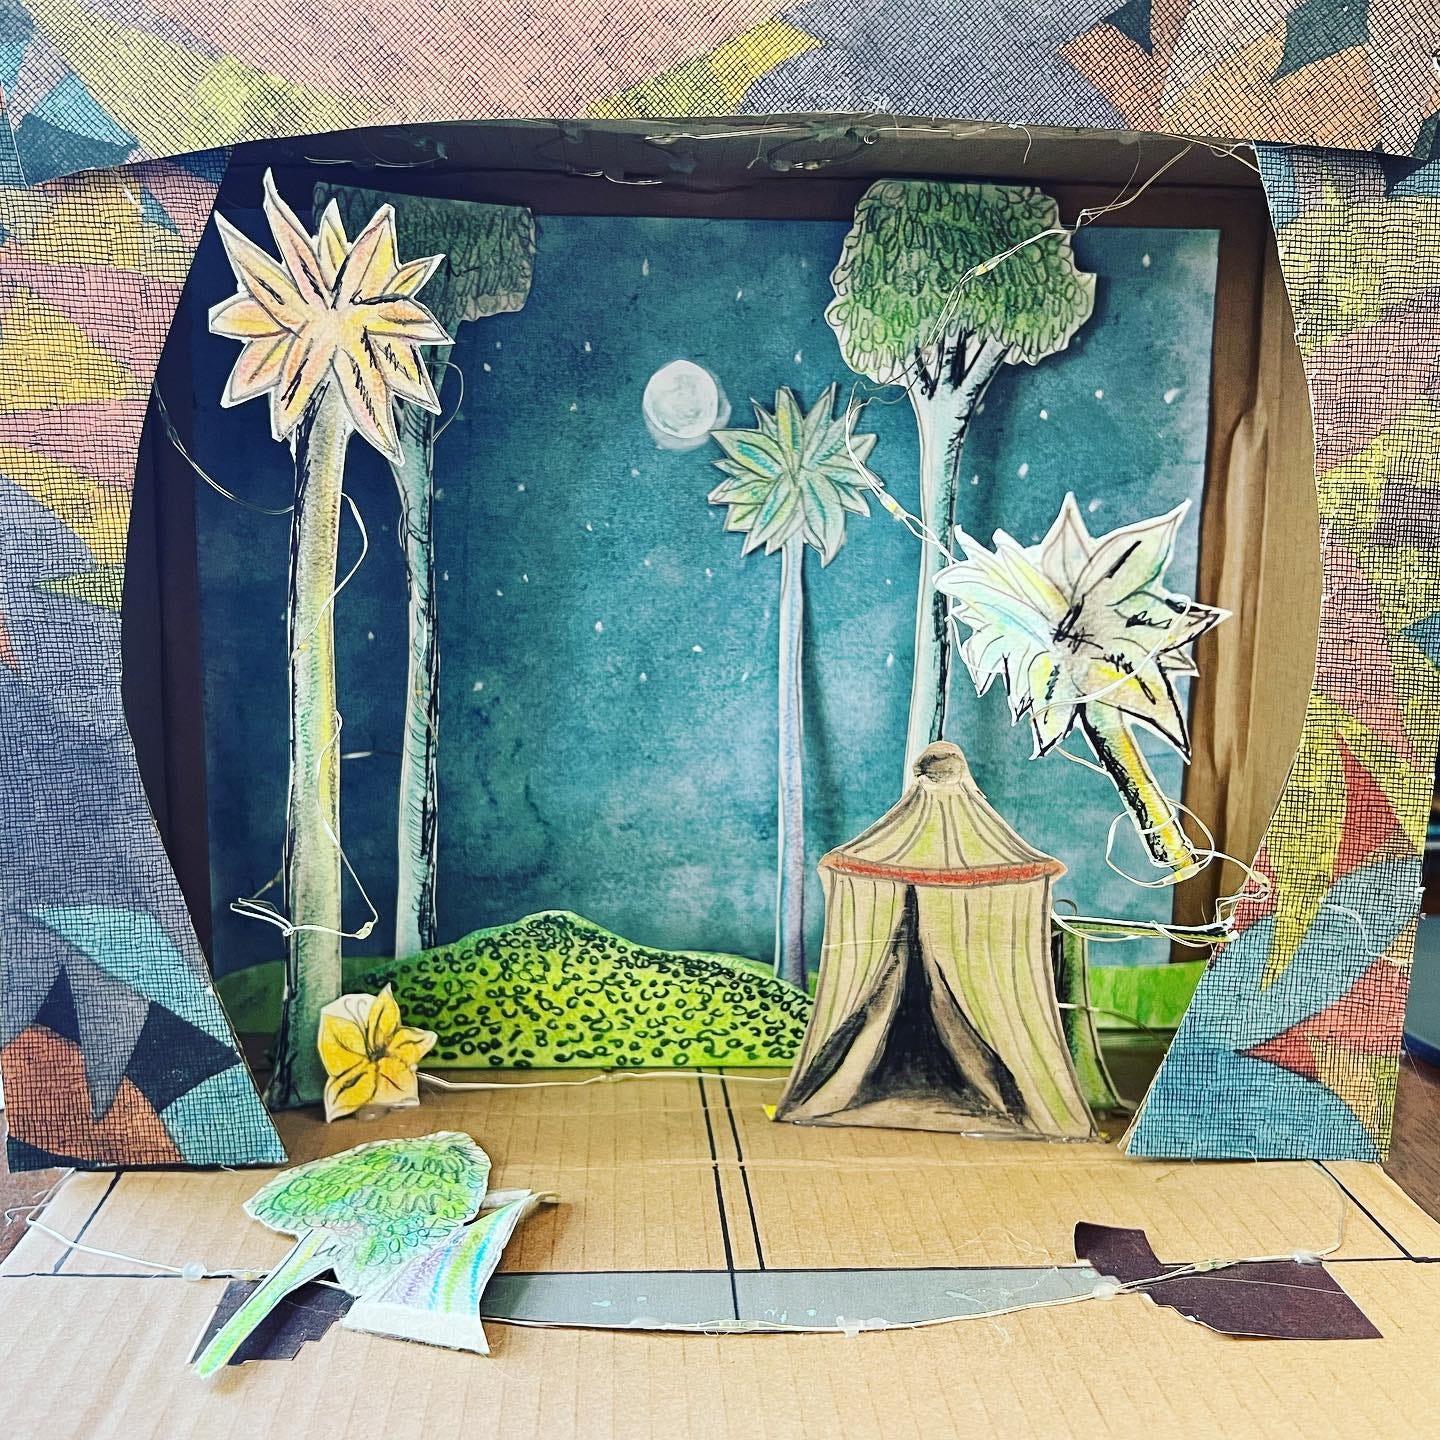
Zia made this “Where the Wild Things Are” set design diorama for a middle school project last year.
She wanted to throw it away immediately after it was graded, but it’s one of those things that, as a proud mom, I’m like, “Gah! It’s so good! We can’t throw it out.”
It’s been sitting on top of the Donkey Kong arcade machine in our living room ever since–collecting dust and taking damage from cats that like to attack the little trees and fairy lights. Coming to grips with the notion that we should probably let go of it, I wondered if it might make a neat experimental Picture This project.
In a quick study of National Days, I learned that International Clothesline Week is celebrated from the first Saturday of June to the next, all around the world. (This year, it takes place from June 3 to 10.)
I thought, “What if I could make a little clothesline and add it to the broken little scene and repurpose this for a dress design? Would it even work?”
Step 1: Prep Materials
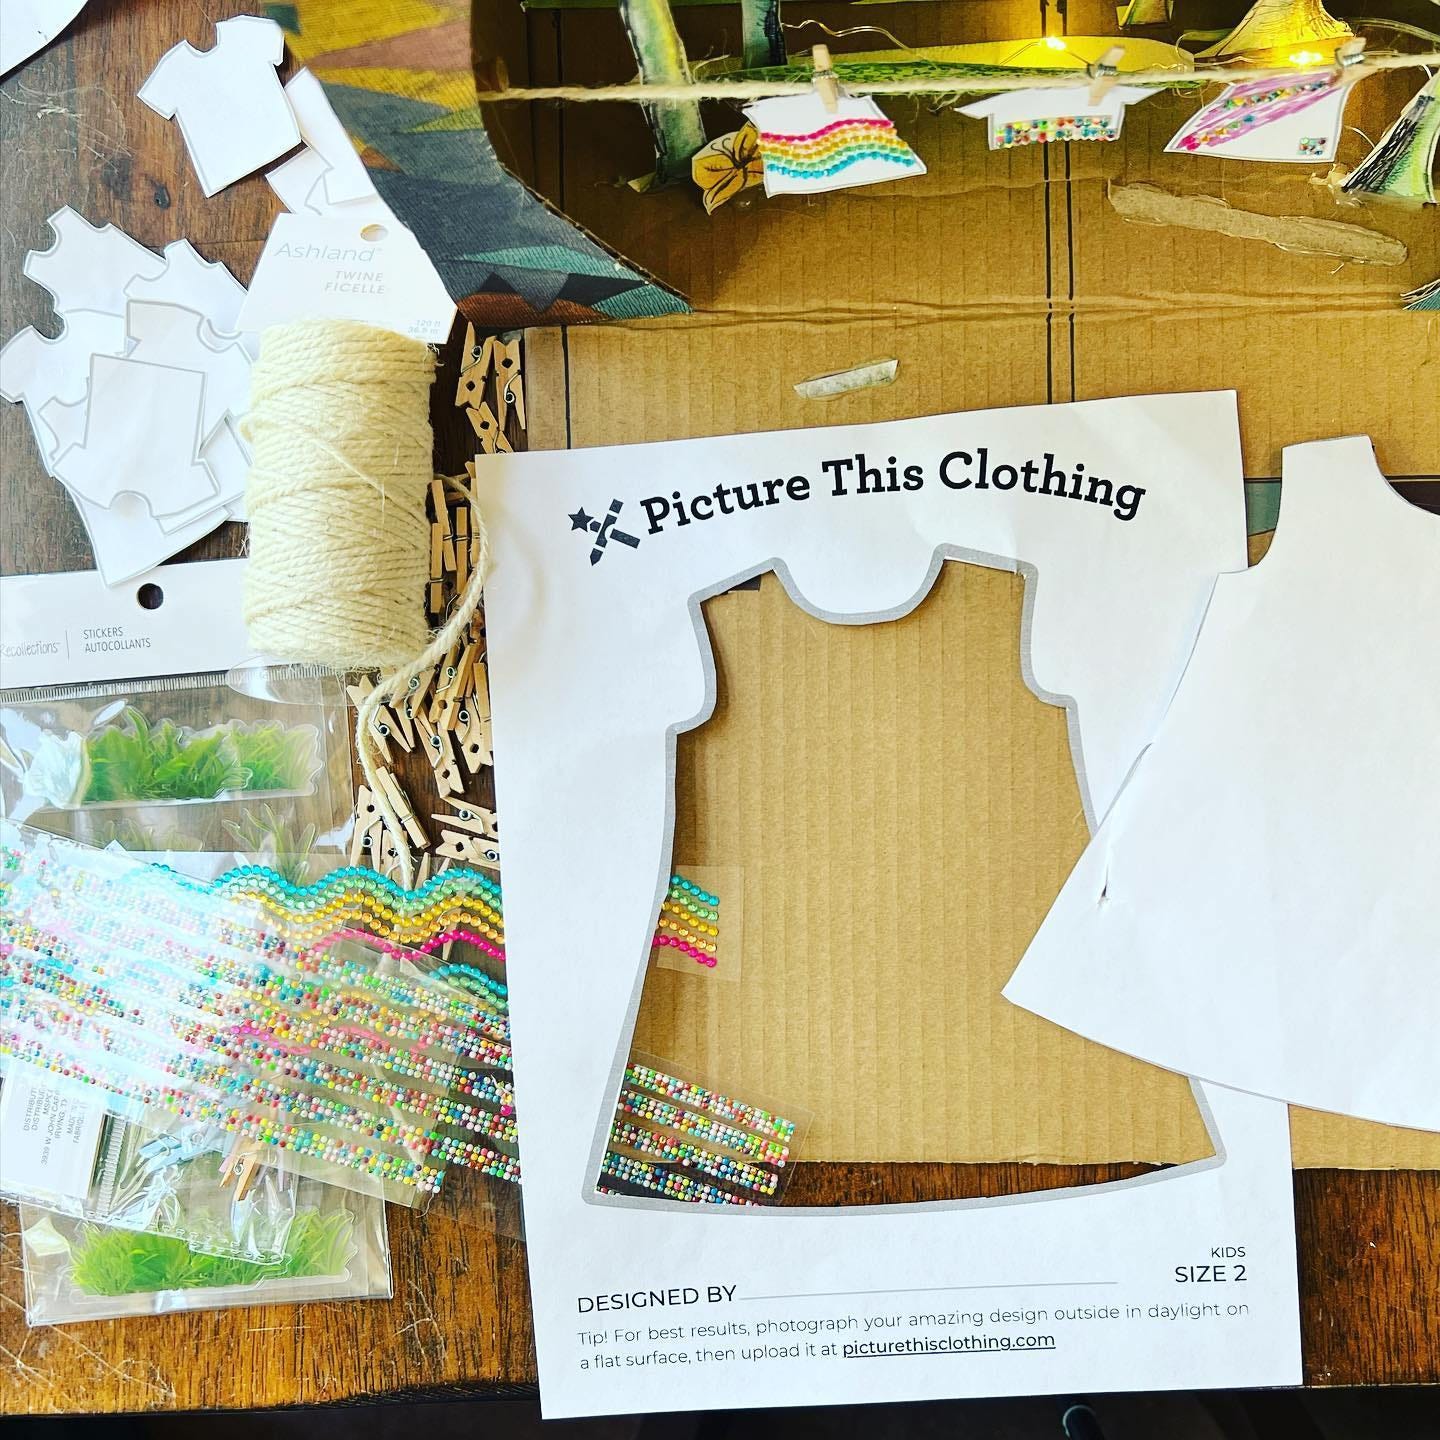
Old diorama that already has some functioning fairy lights installed
Scissors and markers
Two pushpins
Miniature clothespins from the craft store ($3.29)
Twine from the craft store ($1.99)
Stickers for extra decoration (I have an idea! $8.99 x 3)
Several dress and t-shirt templates from picturethisclothing.com (Free)
A sheet of “tiny-fied” Picture This Clothing templates (I did this myself in Adobe Illustrator, see image below)

Step 2: Design
This took a while, but was fun to play with! I started by cutting out all the little t-shirts and dresses, not knowing how many I’d need. These will be the garments hanging on the clothesline!
I decorated three of the tiny paper garments with stickers and some markers.
I cut a length of string, tied knots in each end, then used the pushpins to hold each end into the sides of the cardboard diorama.
I had to replace the batteries in the diorama for the fairly lights. And, half the lights weren’t working because cats had chewed through part of the line. So, I spend some time cleaning things up inside the set.
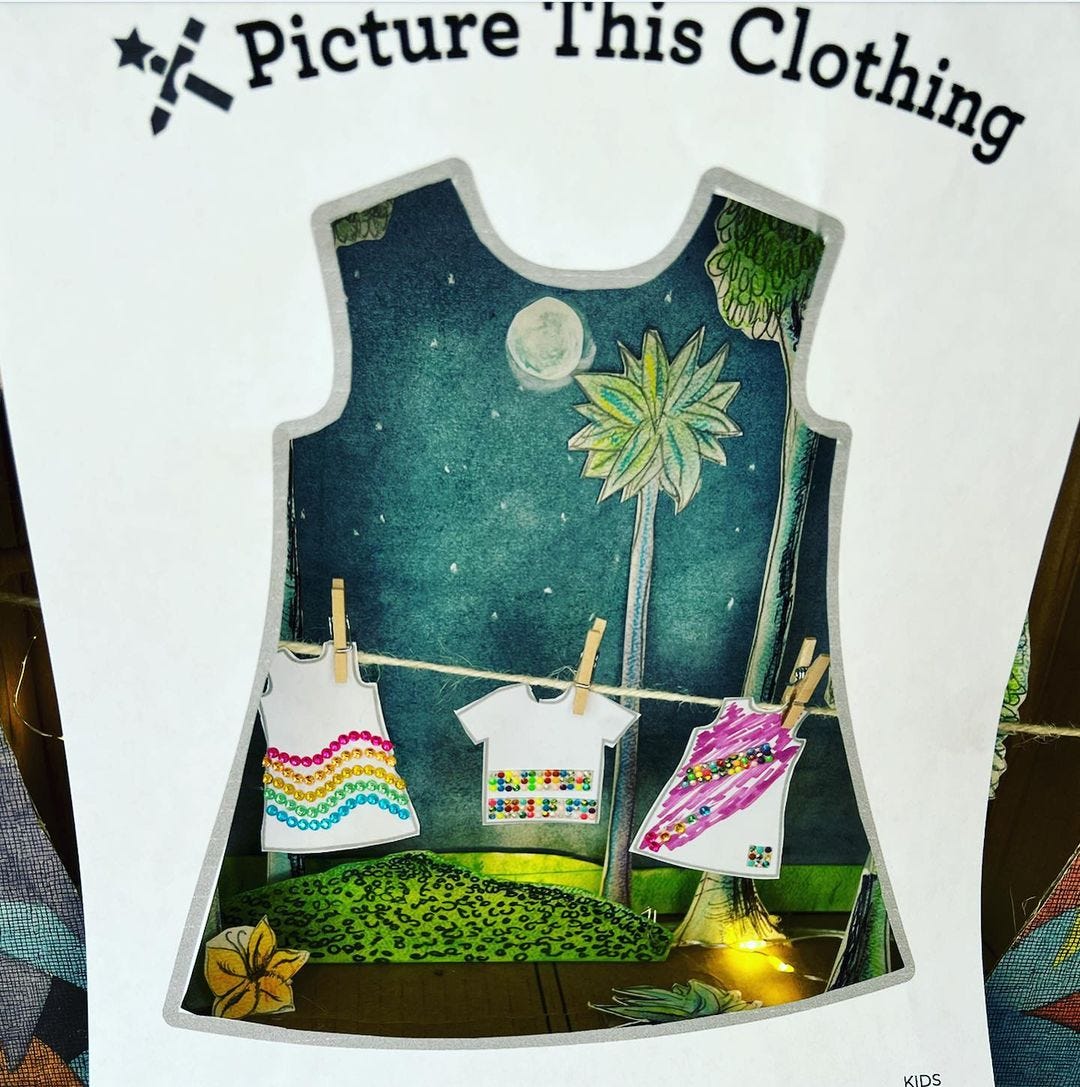
Then I hollowed out a full-sized dress template (Kids size 2 is my favorite for experimenting because I can gift the items to my niece Coco!)
I clipped the tiny paper garments to the clothesline using the mini clothespins. (OMG SO CUTE!)
Step 3: Photograph
I used the tiny clothespins to attach the hollowed out template to the frame of the diorama, and played around with photographing different angles until I got one that I felt looked just right for printing.
I wanted to try capturing that it is a little environment, not just a flat piece of art.
The fairy lights only functioned on a blinking setting, so trying to capture a shot with at least one light on was quite challenging. 🤣
Once I had one I liked, I followed the upload directions on the website and completed the order.
I’m not 100% sure that the photo I shared above is the exact photo I uploaded to the website. I took about a hundred photos, and the variations were so subtle! 🤭
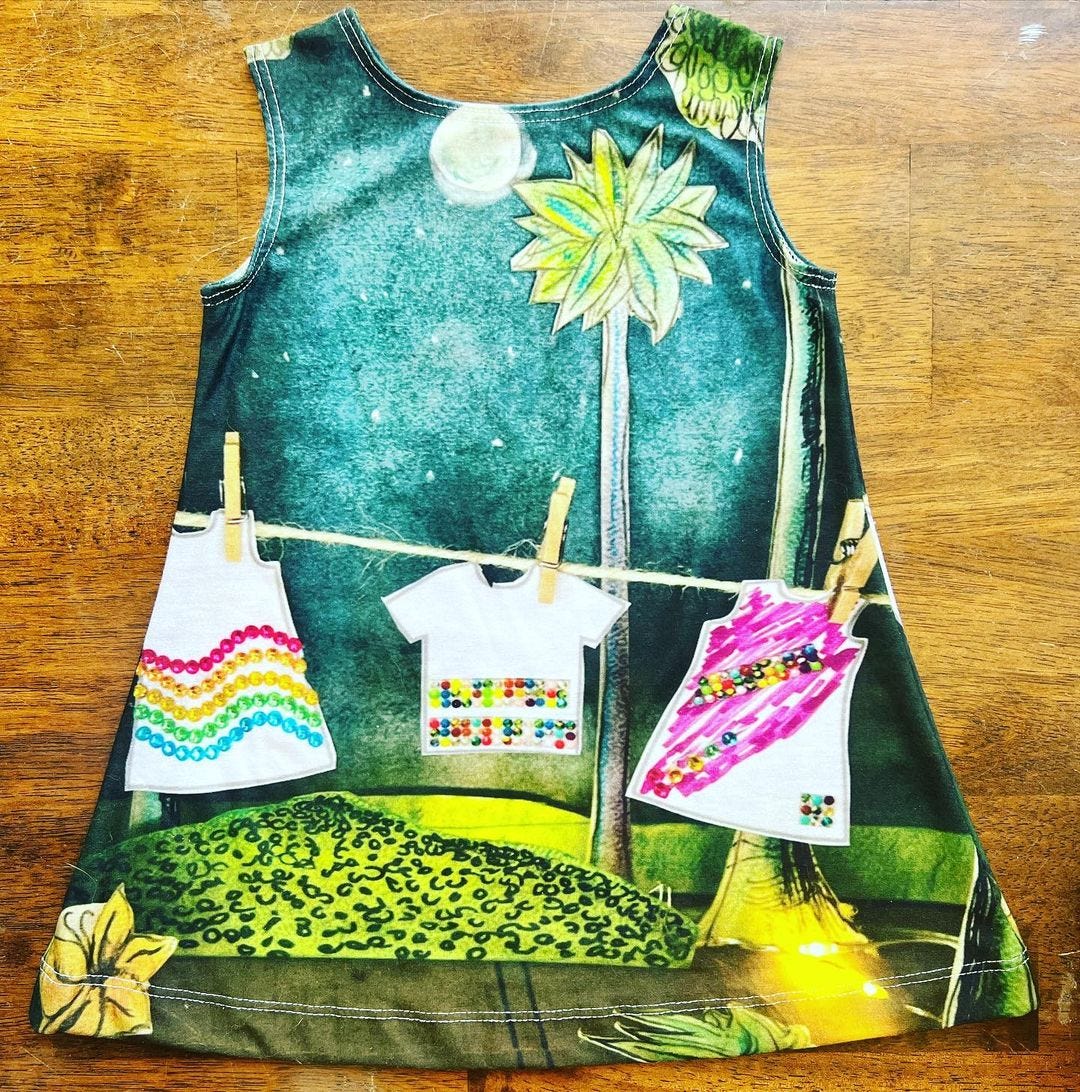
I really wasn’t sure how this one would turn out, but Ken brought it back from the shop, and I have to say I was pretty happy about it!
Zia’s old diorama repurposed quite beautifully!
I love that I was able to capture some of her artwork this way and combine a little of my own with it. I realize I could have done this without the clothesline modification, but it was a fun project!
What do you think about it?
What should I experiment with next?
Thank you so much for reading! In the coming weeks, I’ll do some catching up on the “case study out loud” status. Our goal for now has been to establish rhythms and baselines so we have some idea of where we’re starting. I hope you’ll stick around!
❤️ Jaimee


Jaimee, it’s wonderful. You are so talented.
Very clever.