


How to Design an Adorable T-shirt Using Boring Office Supplies
Design Exploration Inspired by National Paper Clip Day

There are some funny National Days out there, but when I saw National Paper Clip Day, I thought it sounded like a great opportunity to play with some design ideas using plain ol' office supplies–just to see if I could come up with something cute.
When Zia was little, she loved playing with my desk supplies, and I’ve always kept quite a few around. Gathering materials for this project didn't require a special shopping trip this time!
(Hint-hint, need to keep kids busy while you get some other things done?)
STEP 1: Gather Materials
We love color in our household, so we often have a colorful variety of traditionally ordinary things like paper clips. Target always has really nicely curated color palettes for things like office supplies and crafty activities if you want to go easy on your color theory sensibilities. You can use one of their curated packs and know the outcome is going to at least have a really nice palette. I picked up this mixed pack of office supplies for my daughter Sophia a while back because she's always taking my push pins. It seemed perfect!
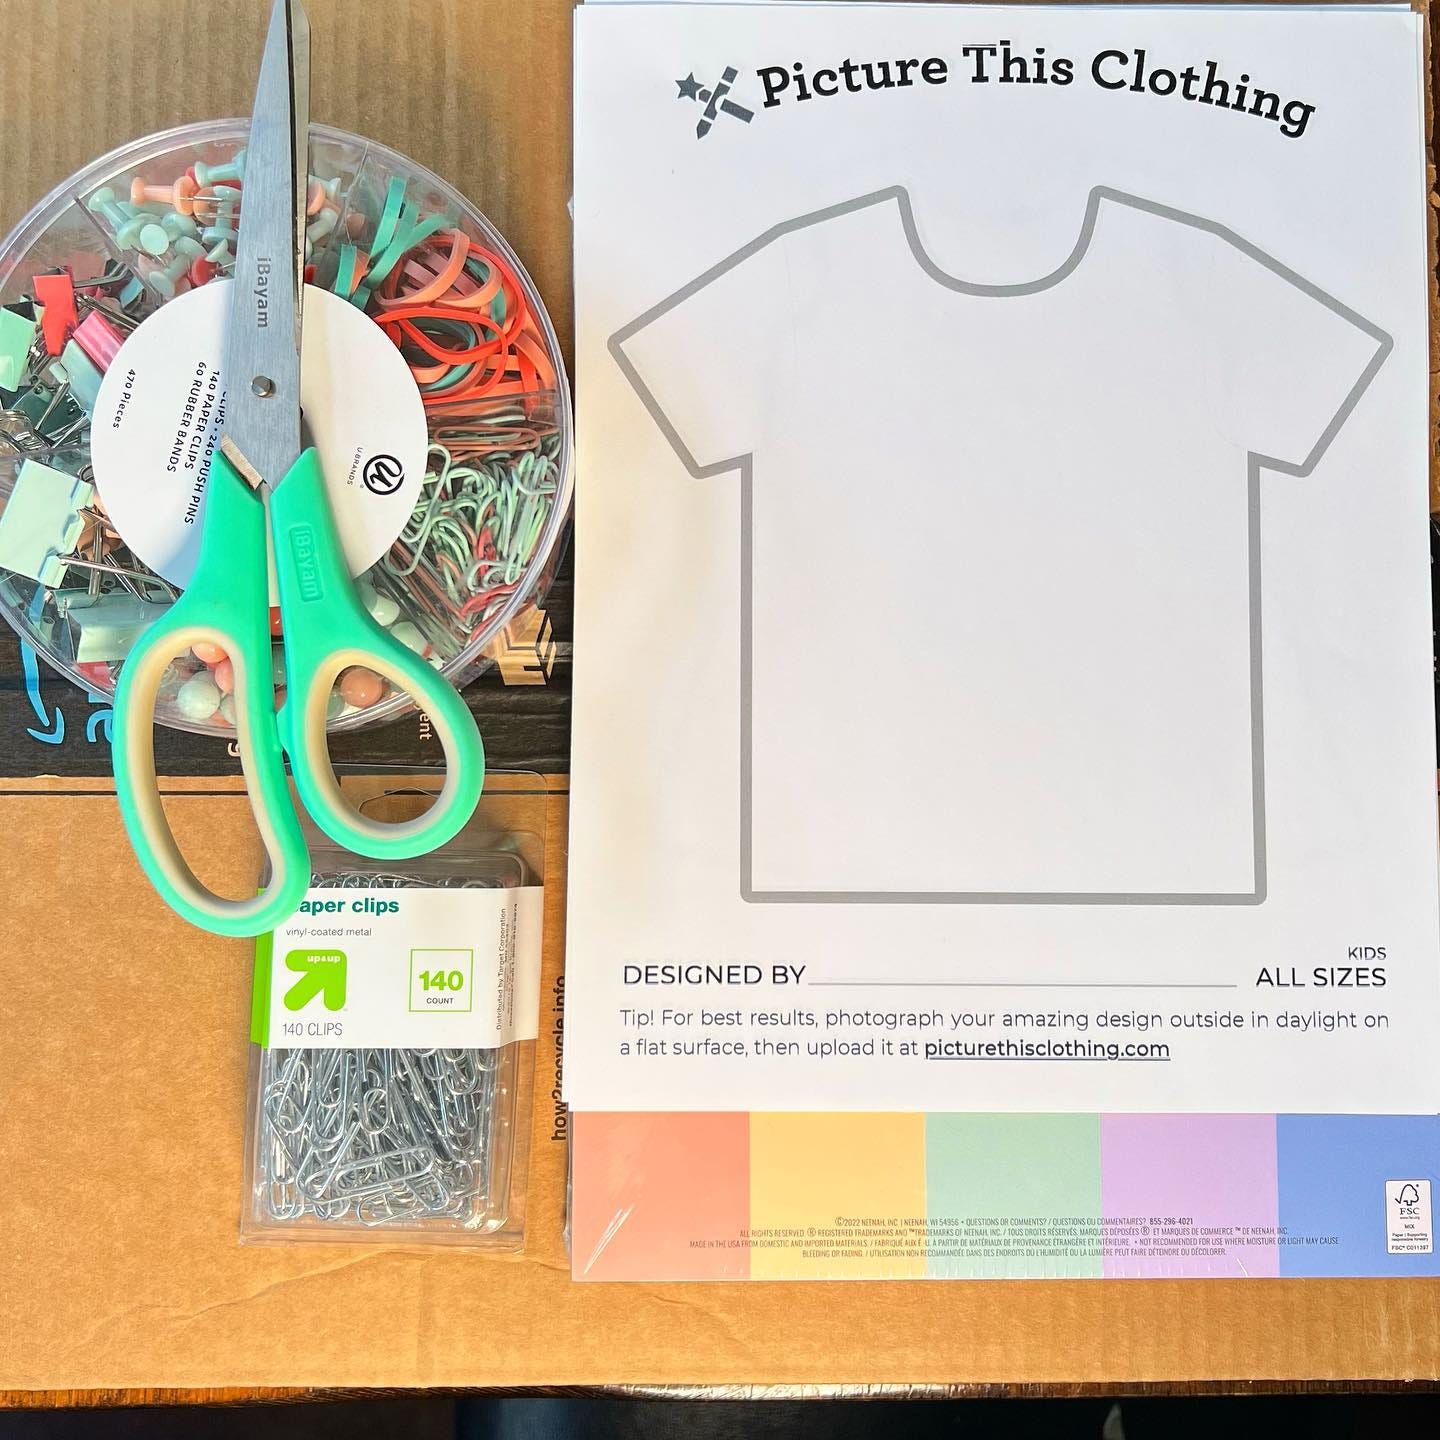
Here's what I pulled together for this project:
Printed t-shirt or dress templates from PictureThisClothing.com
Cardstock in a soft rainbow palette
A variety of office supplies (emphasis on Paper clips!)
Scissors
Cardboard box
STEP 2: Play!
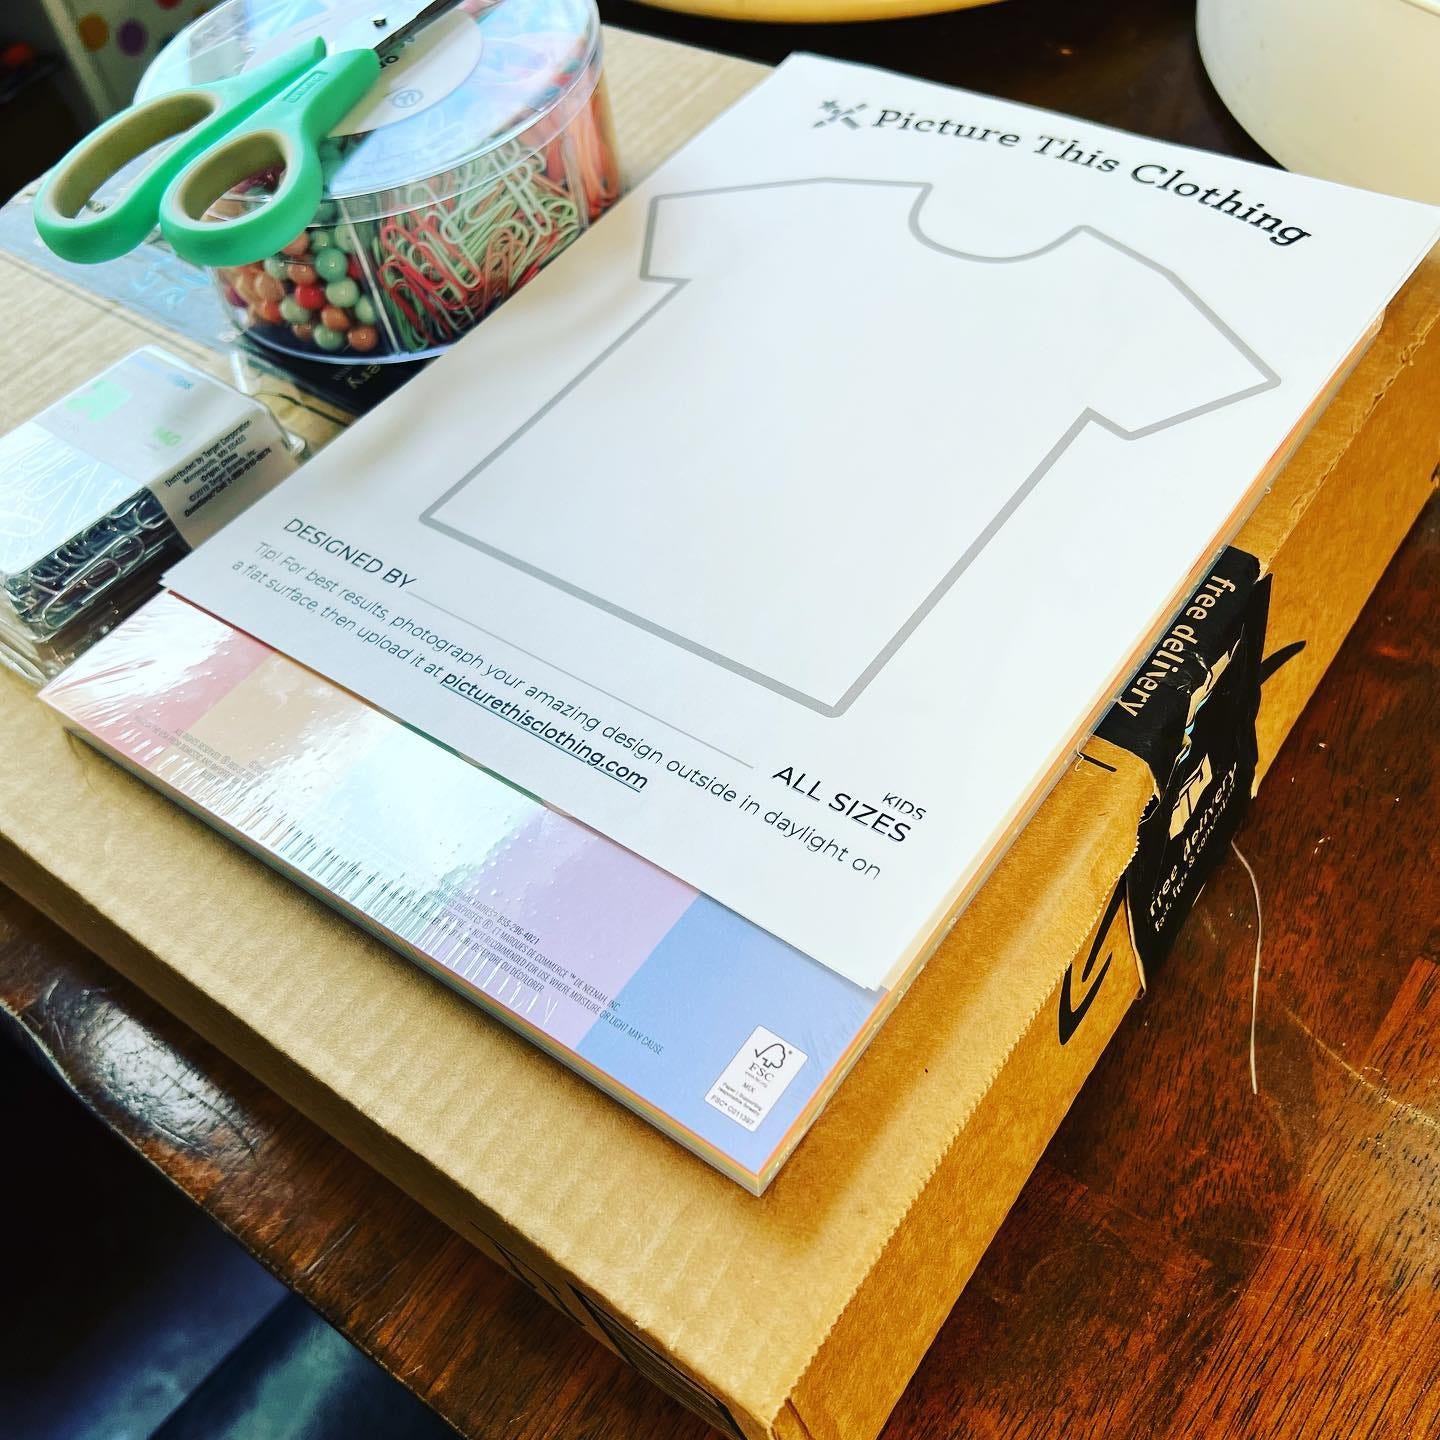
I decided to work on top of a cardboard box for this one because I want to play with the pushpins. Does anyone else have a plethora of Amazon boxes around at any given time? I liked this one that was only about three inches high. If it's too tall, it might cave in when I push the pins in.
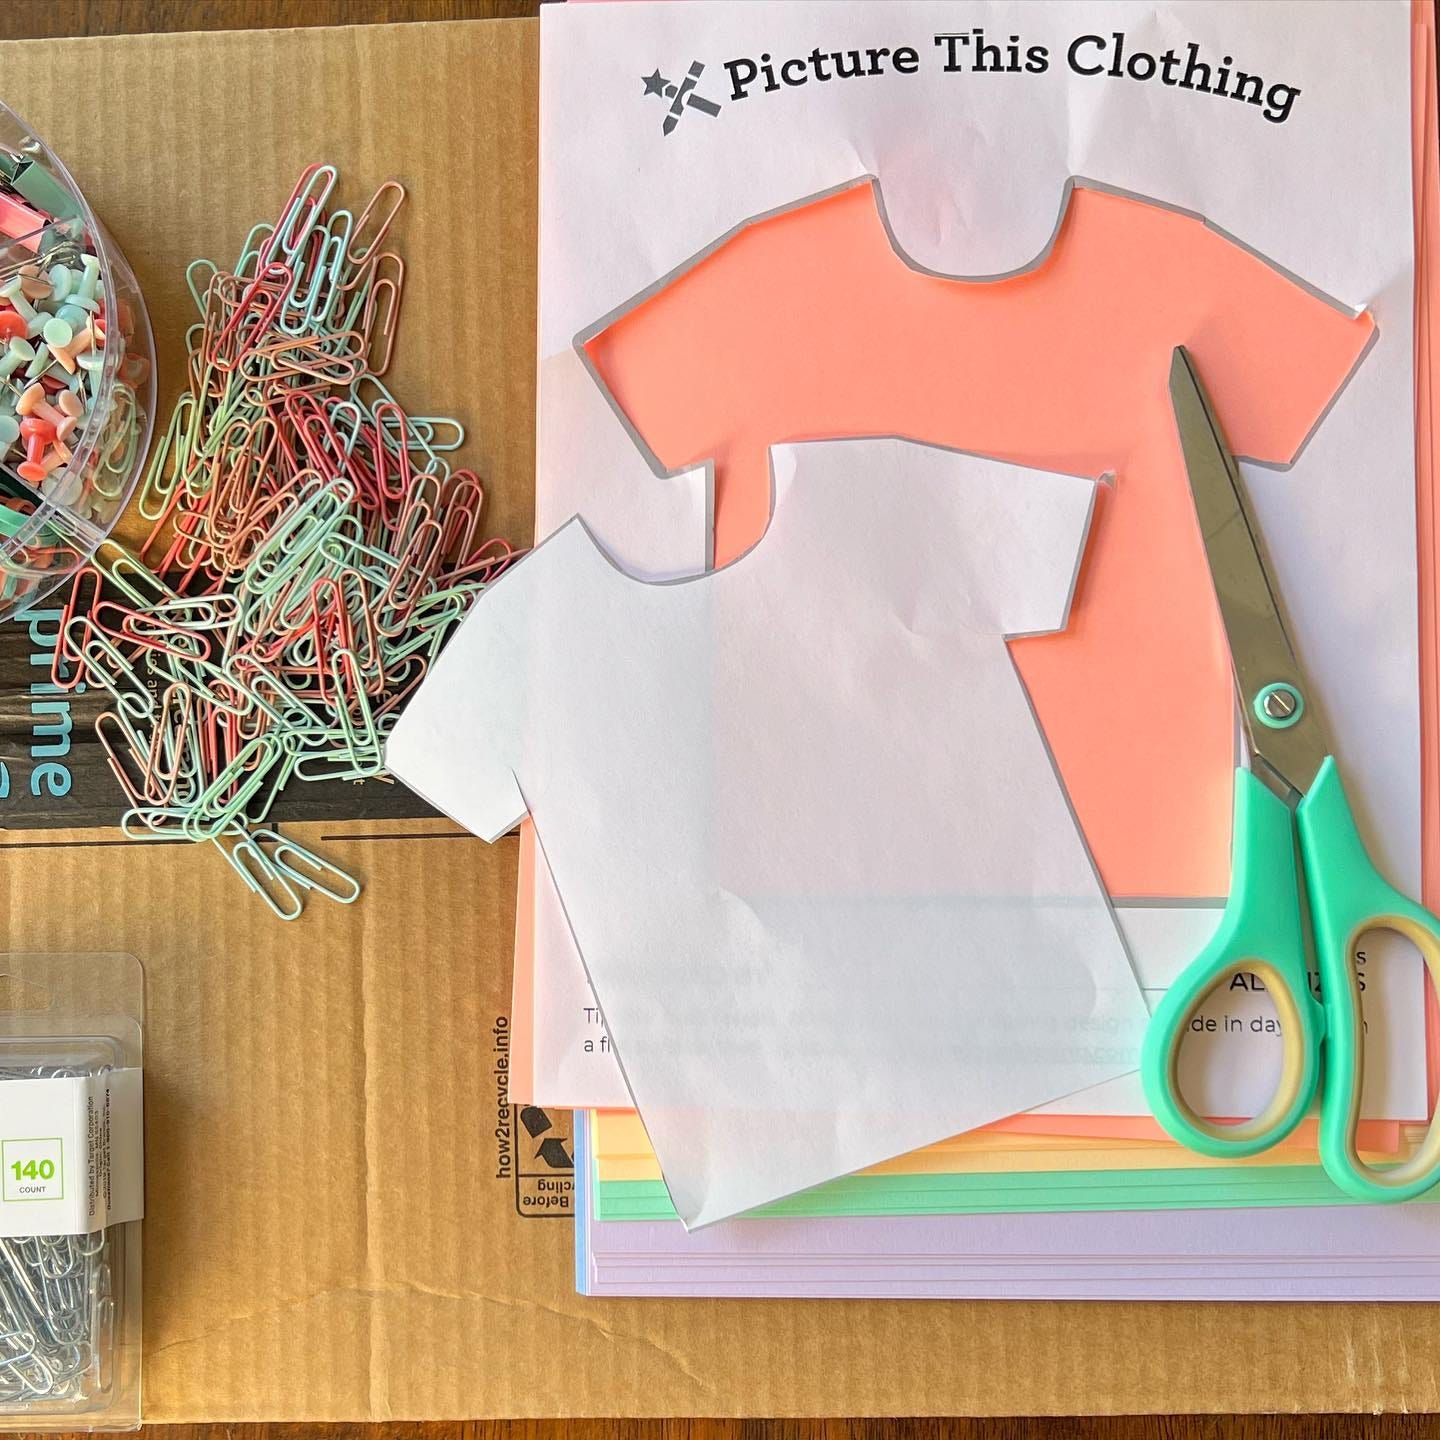
I also decided to hollow out the template so I could use some of the pretty cardstock as the background for the shirt instead of white. Design note: our fabric is really lightweight (and super soft). If left white, it's pretty see-through. Solid colors are a perfect solution for that!
If you're going to hollow a template, I recommend cutting on the gray outline so there are no white fragments left inside the outline. (White fragments might get printed in your finished design, cutting into the gray a little won’t hurt anything.)
STEP 3: Take a Photo
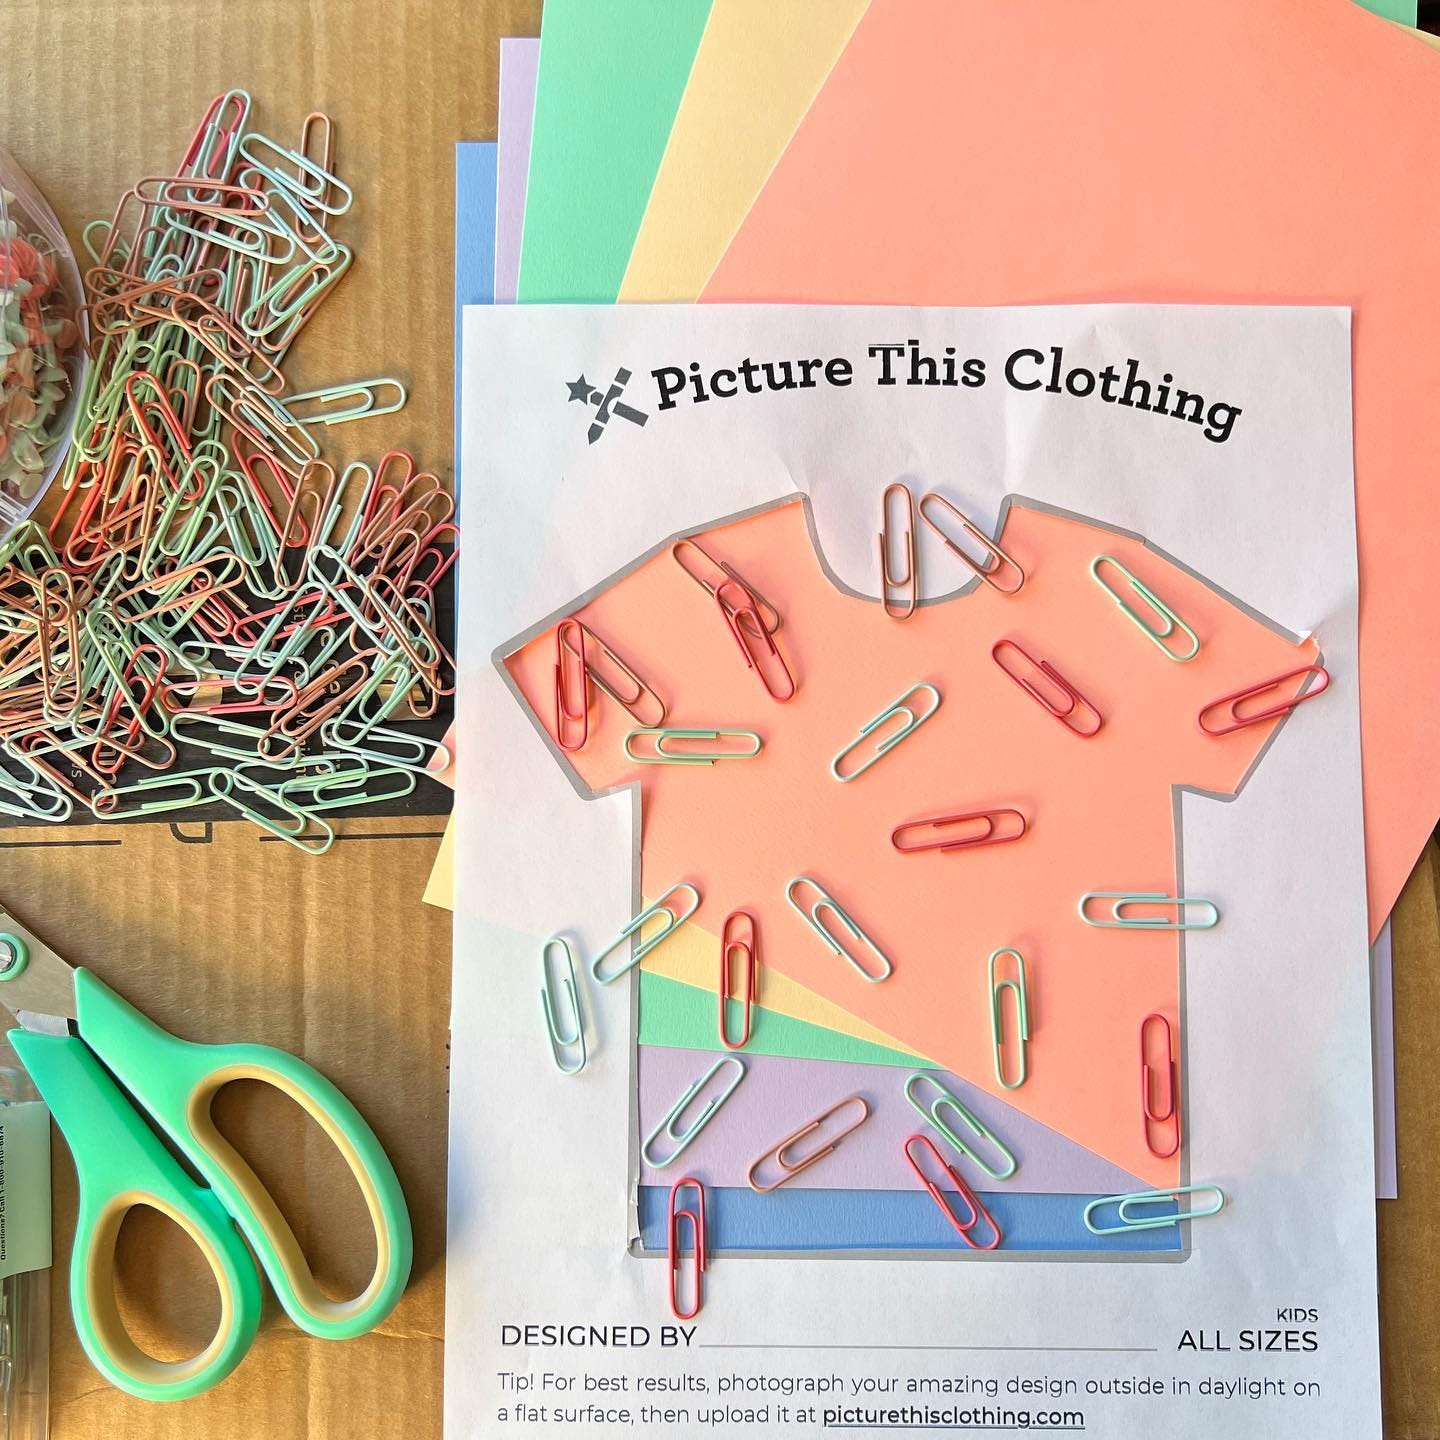
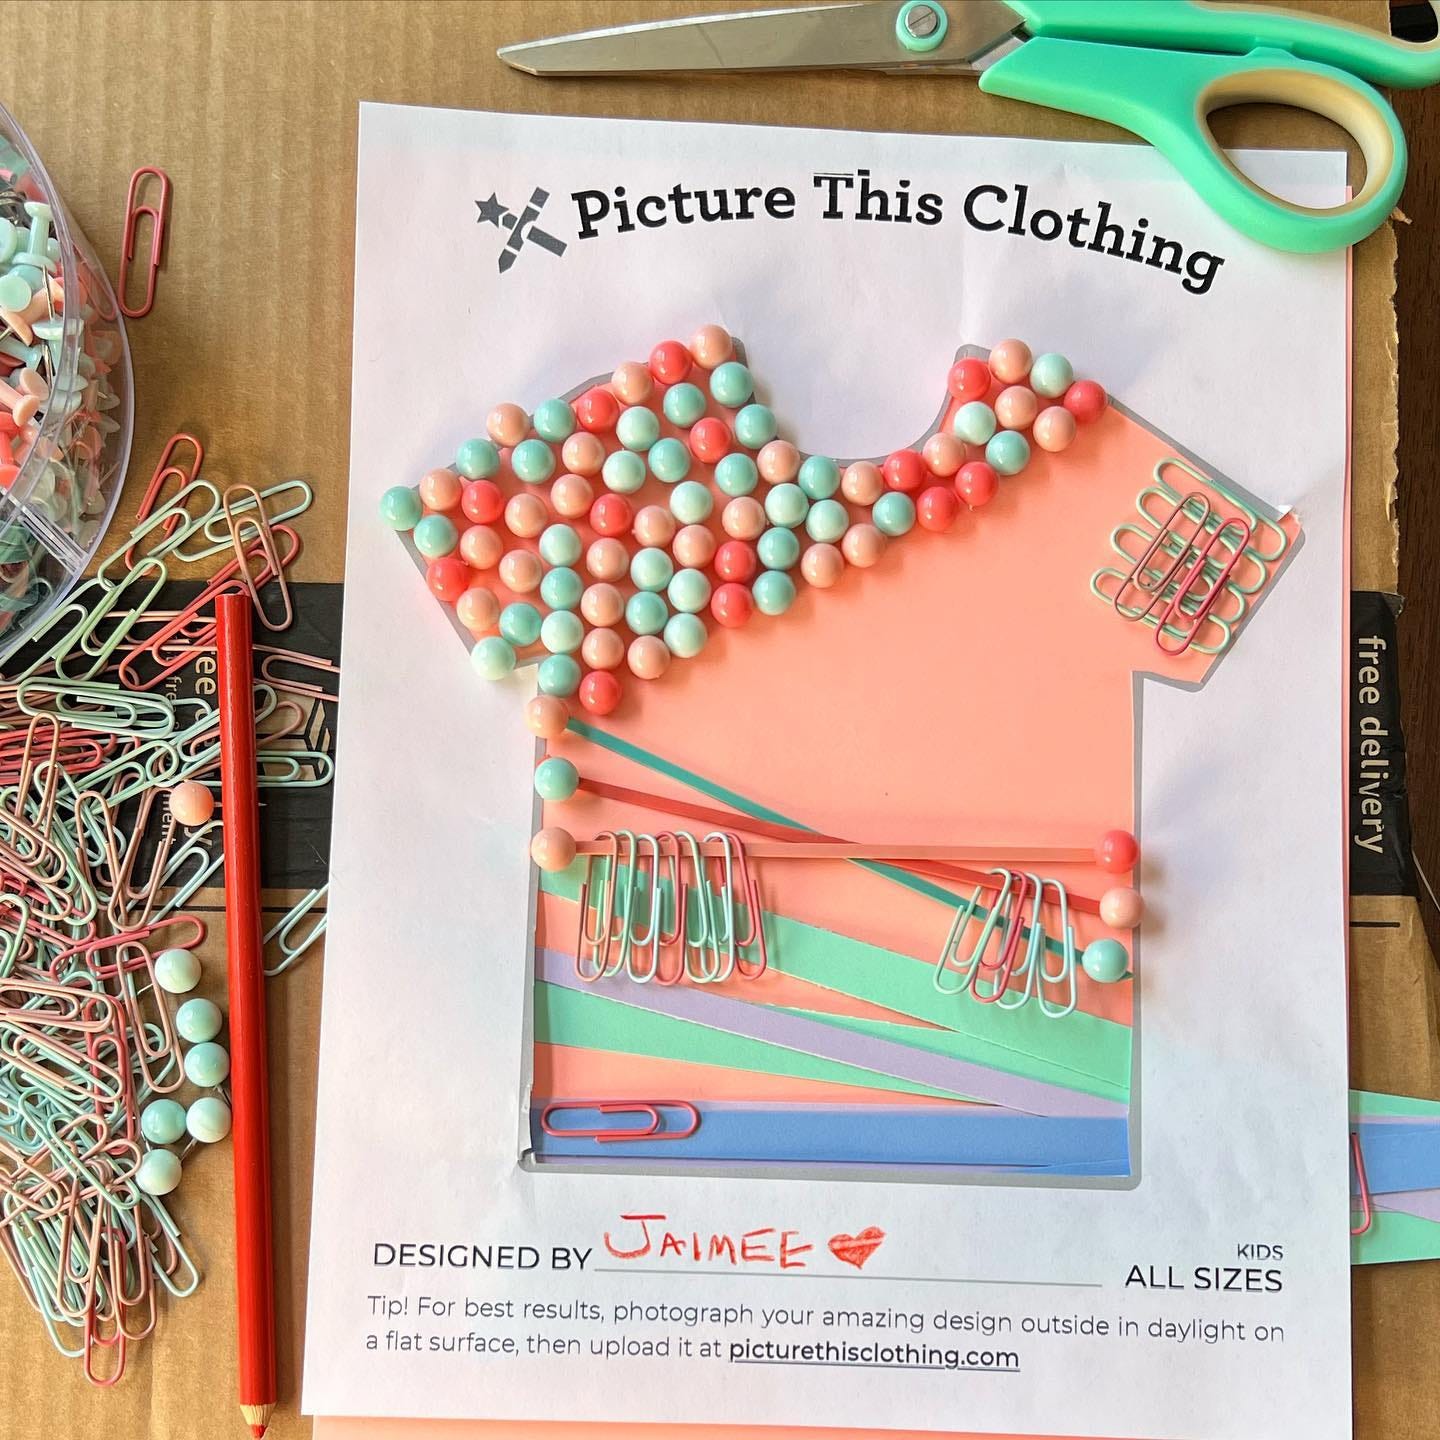
I arrived at this design pretty quickly, so I took a photo. I like how it makes use of all the cardstock colors without getting too complicated, and the paper clips make a fun and simple pattern. I wanted to play a bit more, so after I took a great photo of this design to preserve it as a potential print candidate, I cleared my work area and started again!
After a while of playing with paperclips, rubberbands, and pushpins, here's where I landed a little while later!
Important note: Pushpins are definitely an age-sensitive design tool, but if your kiddos are old enough not to eat them, it's a really fun activity to push them into the cardboard and see what kind of design emerges
Tips for taking a great photo:
Make sure your hand isn’t casting a shadow on the artwork
Aim for nice, even lighting (this can be tricky, I take my pics near a brightly lit window and use a photography light on the other side to keep the lighting as even as possible)
Get as close as possible to the artwork without cropping off the signature line
Step 4: Upload that amazing design at PictureThisClothing.com so we can print, cut, sew, and ship it to you, ready to wear!
I uploaded both designs to see if one looked better than the other when “real”–which one do you like the best?


If you liked this activity, please share it with friends!
If you’d like more content like this, please subscribe!
If you have questions or ideas you’d like to see me try, leave a comment!
Thanks, friends!
–Jaimee
