


Paint-blobs "Flower" Design
Super-simple, but super-impressive results!

HelloooOOOooo! How is everyone?
If you’re looking for something fun for little kids to do over Thanksgiving break, Taylor wrote up this really fun activity. AND, we’ve got a discount code for you at the end in case you want to give it a try! (Or any design you can imagine, really.)
-Jaimee
What’s up, everyone?
I did a cool design a little bit ago. I loved the process of it…and thought I would share!
This is an art project involving paint and the plastic produce bags you find at the grocery store. I cannot remember where I saw the idea. But, one day, I was out shopping, and it came to mind!
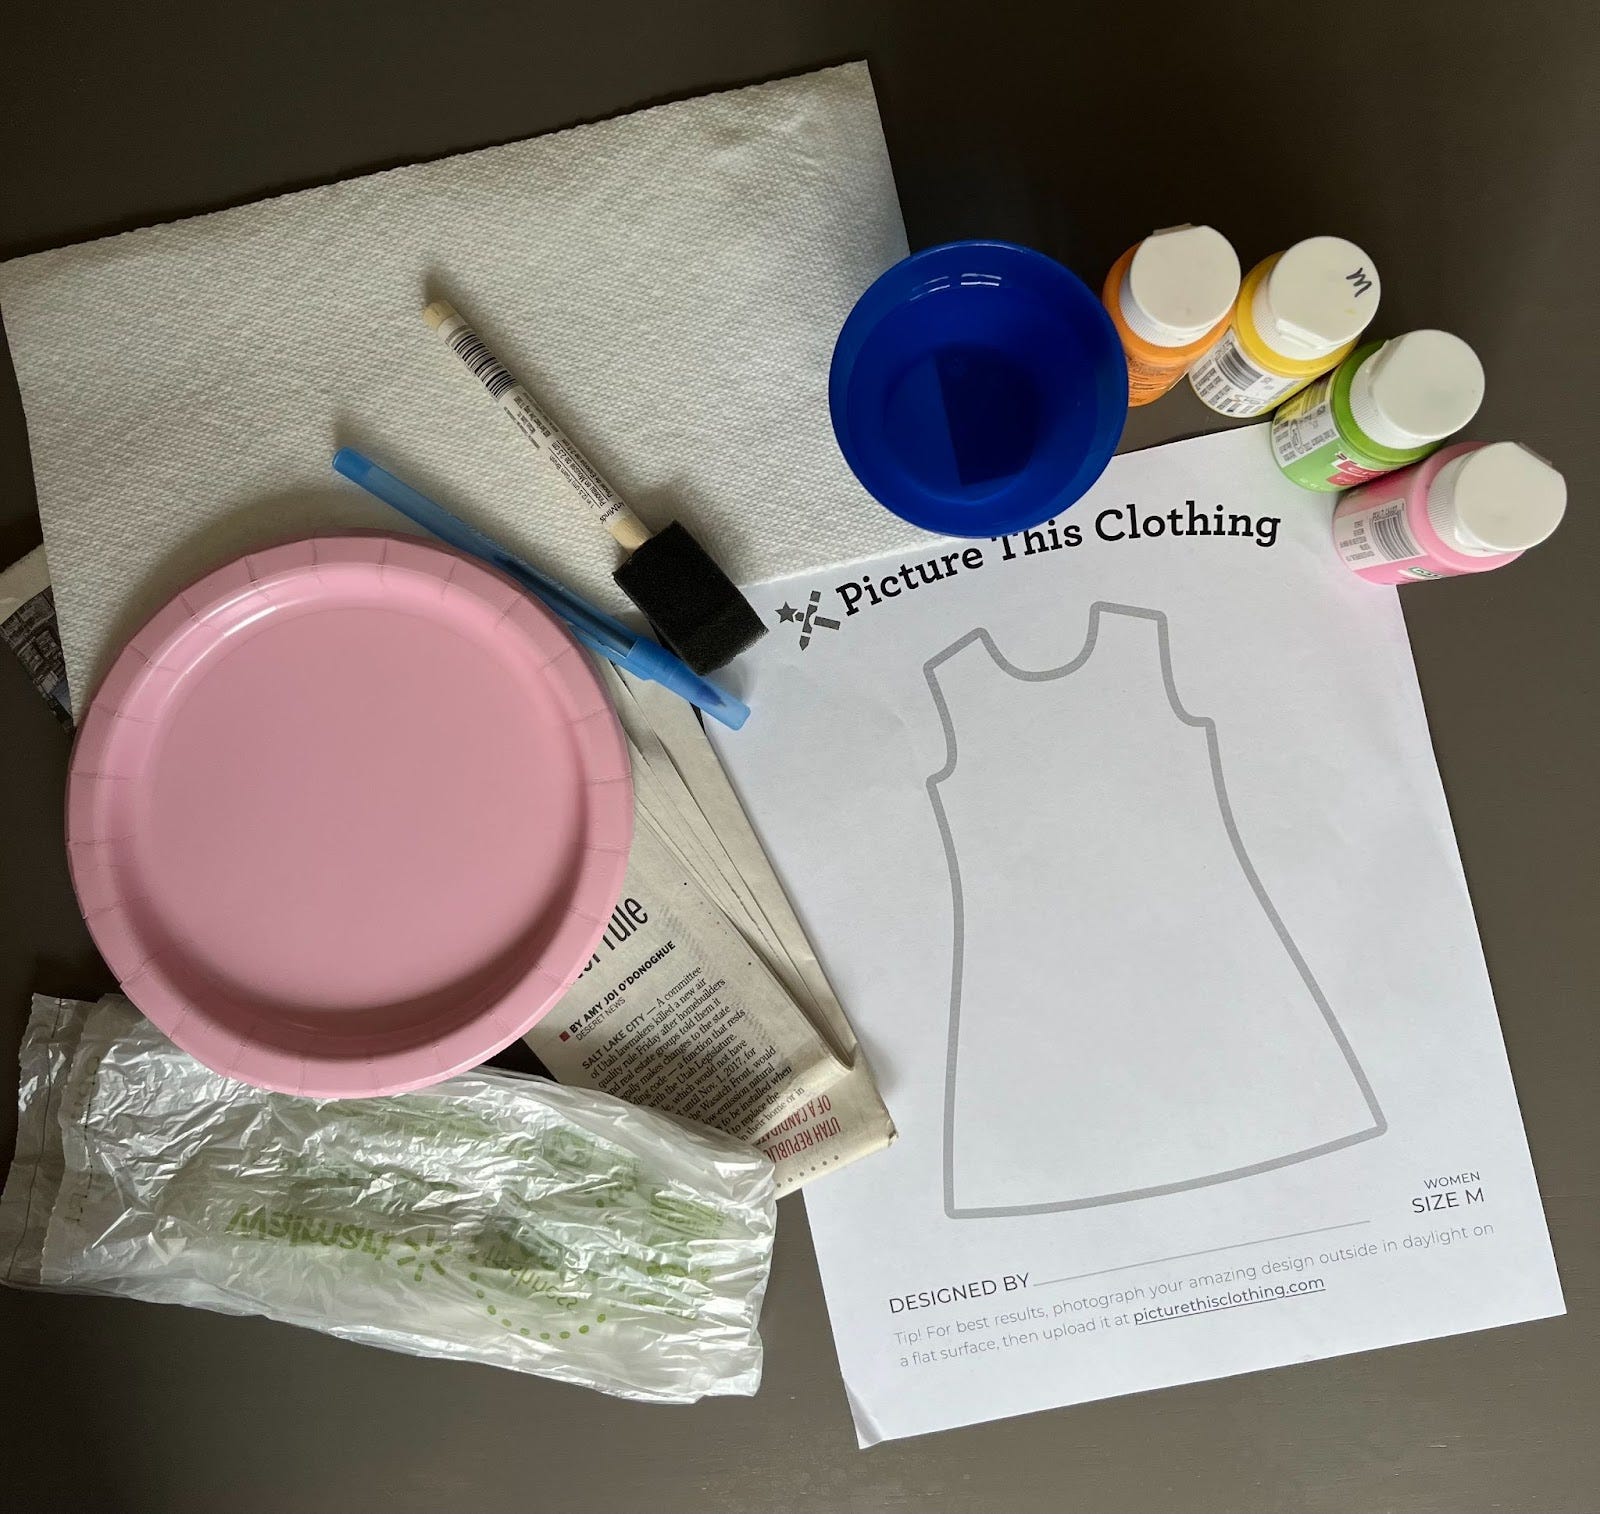
Supplies:
Two Produce Grocery Bags
Paint (pick any colors you love!)
Paint Brush
Plate (or something to put the paint on)
A cup of water (to rinse out your brush)
A Picture This Clothing template (print for free!)
Pen (to write my name on the template, it gets printed in the hem!)
I also used some newspaper to protect the table from spills and such. 😊
This project is super cool and very easy for any age!
Steps:
Open the produce bag and tie a knot at the bottom of it (where it is sealed).
Flip the bag inside out (so that the knotted section is on the inside)
Get air in the bag and hold it close to the bottom (this creates a bubble around the knot that gives a really cool texture)
Put some paint on the bubble
Press the painted end on the piece of paper, like a stamp!
That’s it!
I promise it is as simple as it sounds. It’s super, super easy!
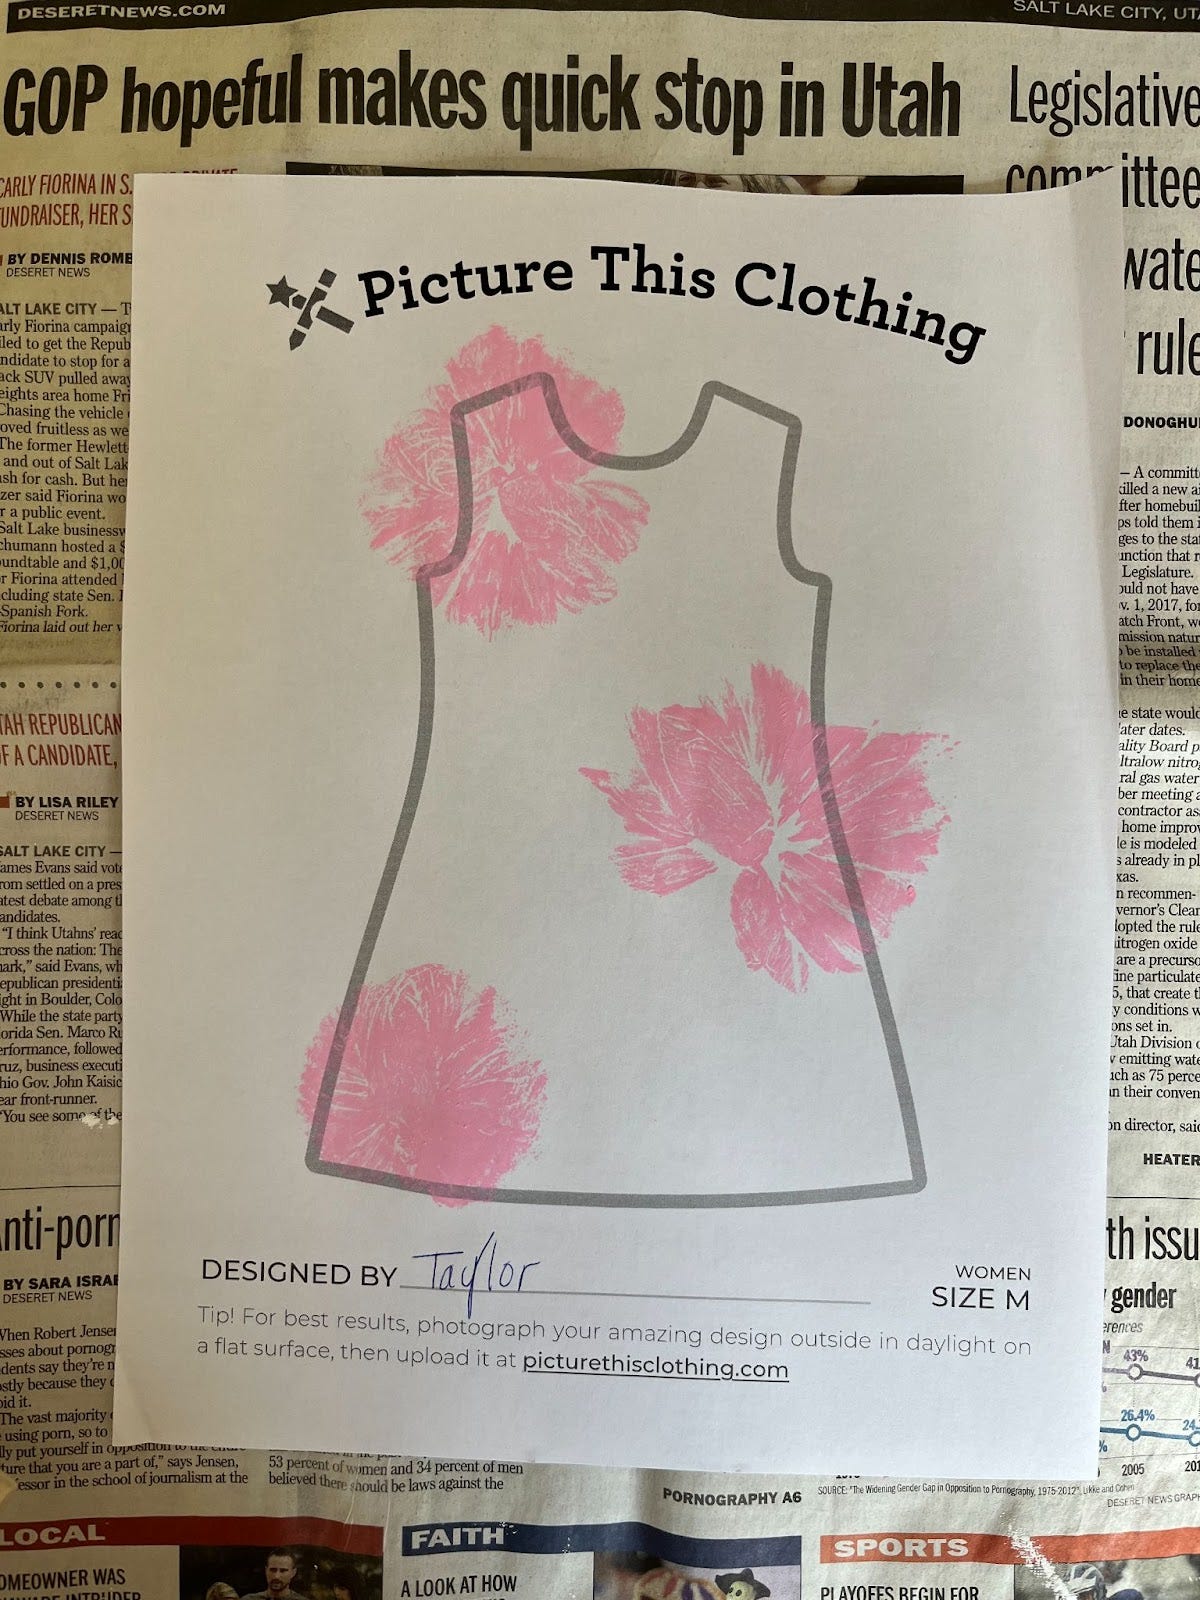
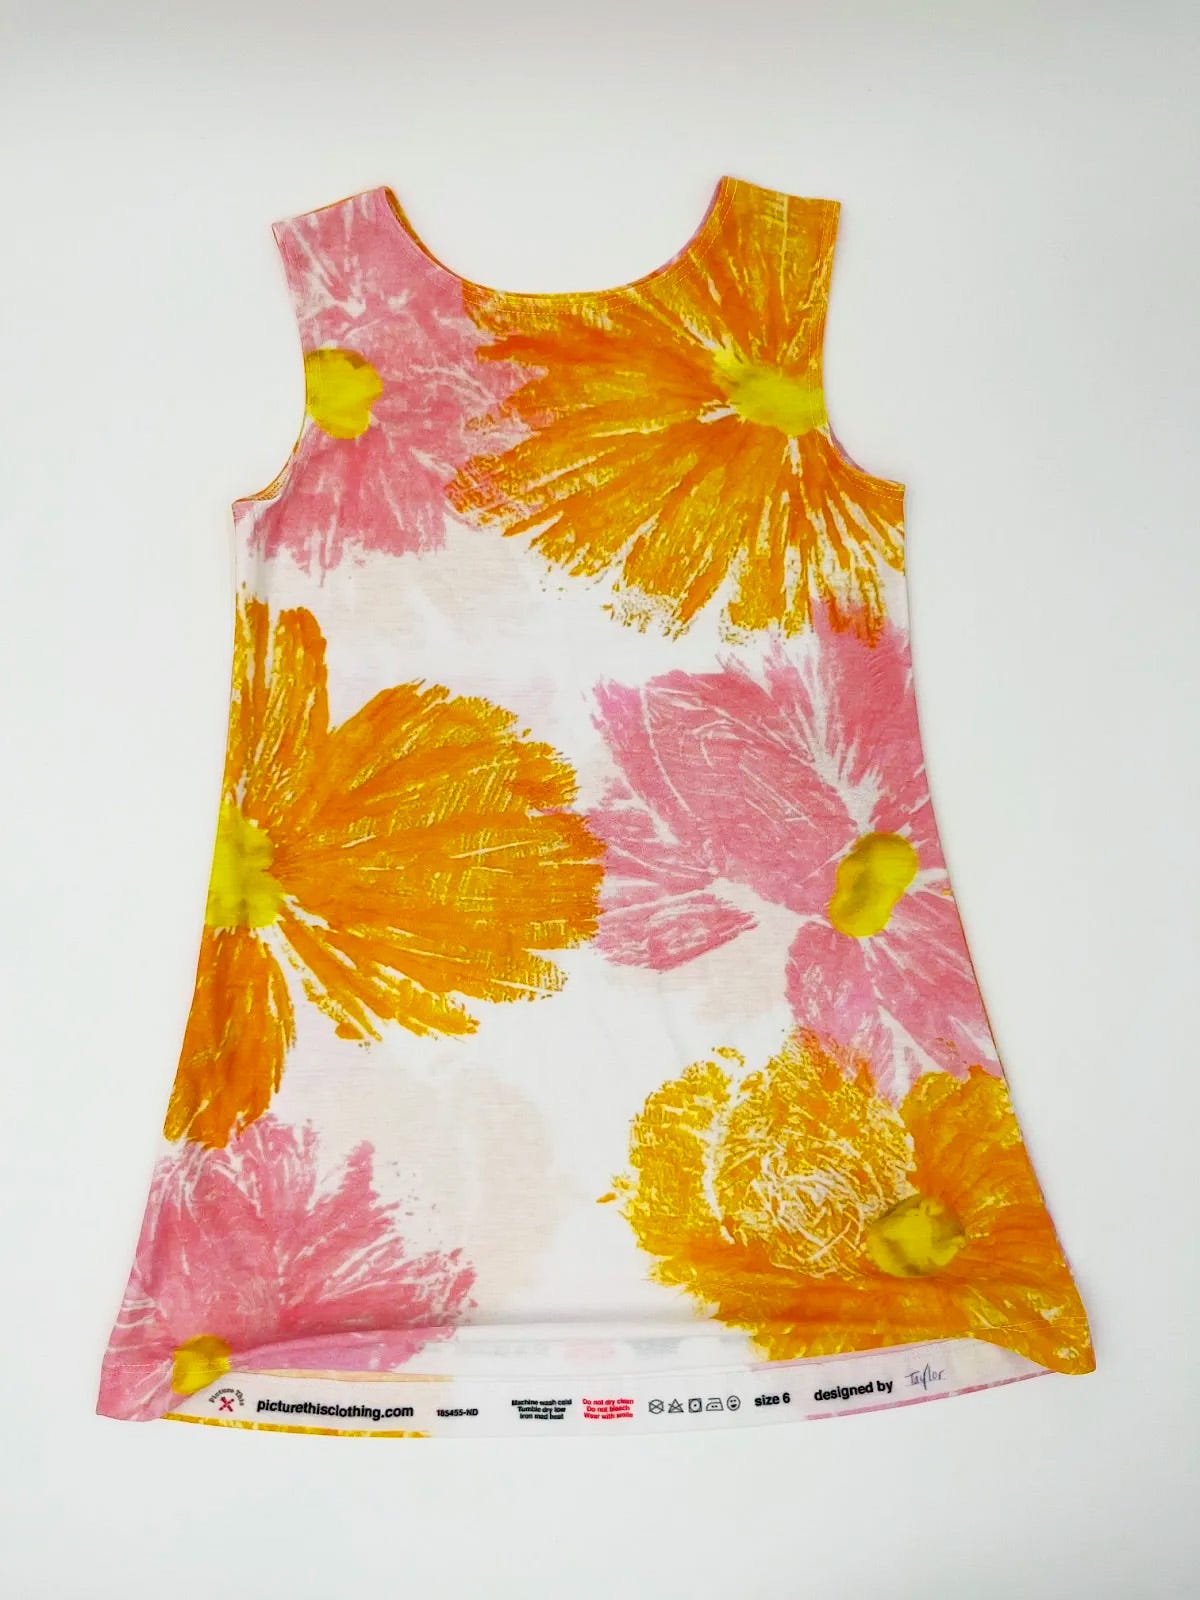
I placed three pink “flowers” across the page. It looked really cool!
It was a little bit bland with the pink alone, and I wanted some more colors on it
(if you haven’t read the post about filling in all the white space, take a look at that one here. It’s good info!)
So, I took my second produce bag, and followed the same process outlined above using orange paint instead of pink this time.
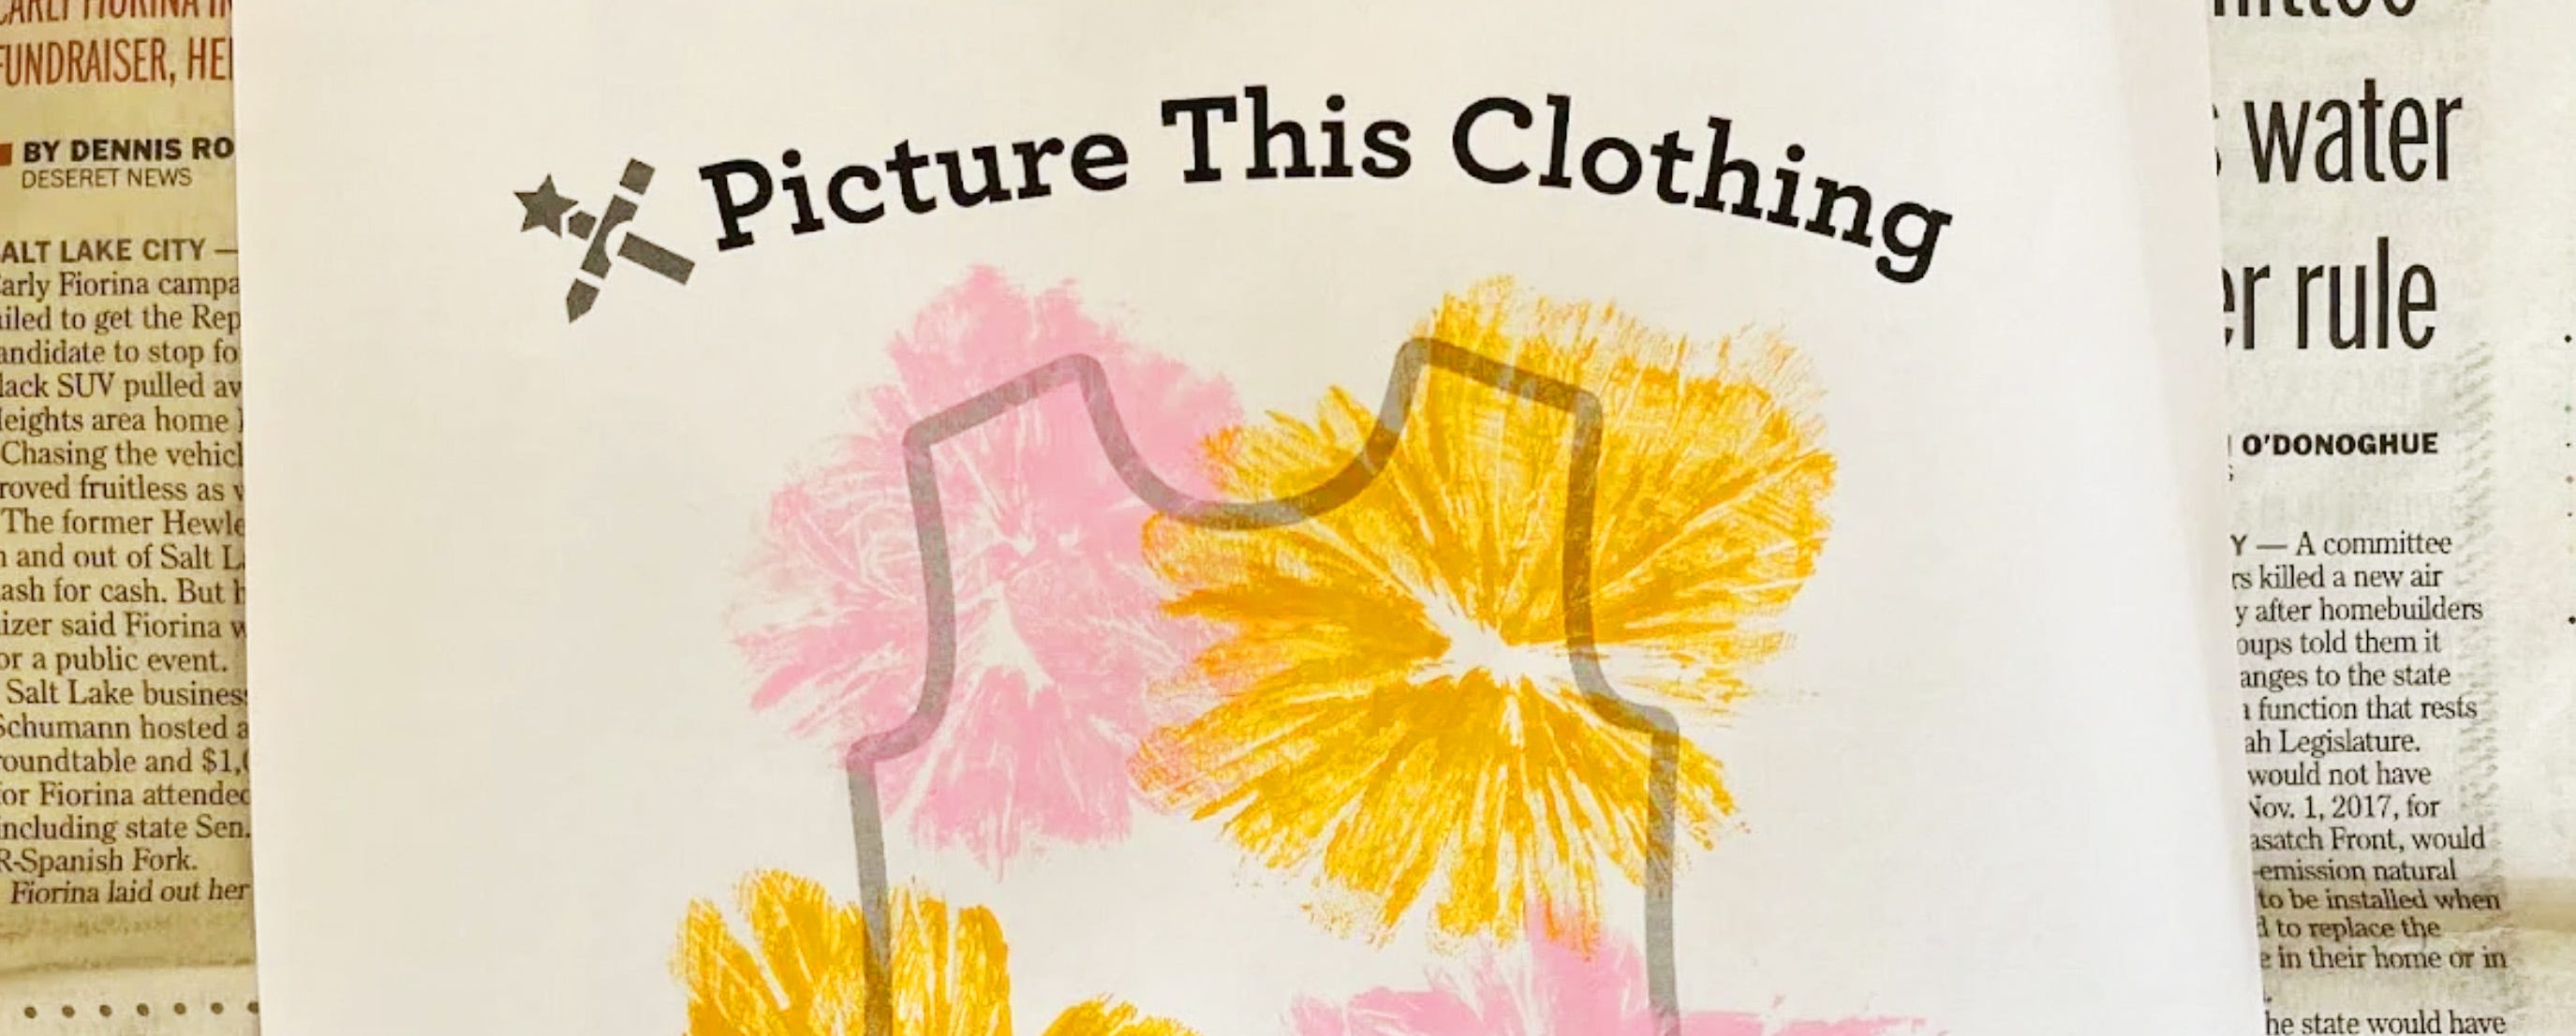
Next, I added orange “stamps” to the template.
I really like how this turned out! The varying colors look so cool!
Just before I took the final photo, I added some yellow “blobs” to the middle of each flower-looking stamp to make it even more flowery-looking!
(Not shown here, but you can see it in the finished dress below!)
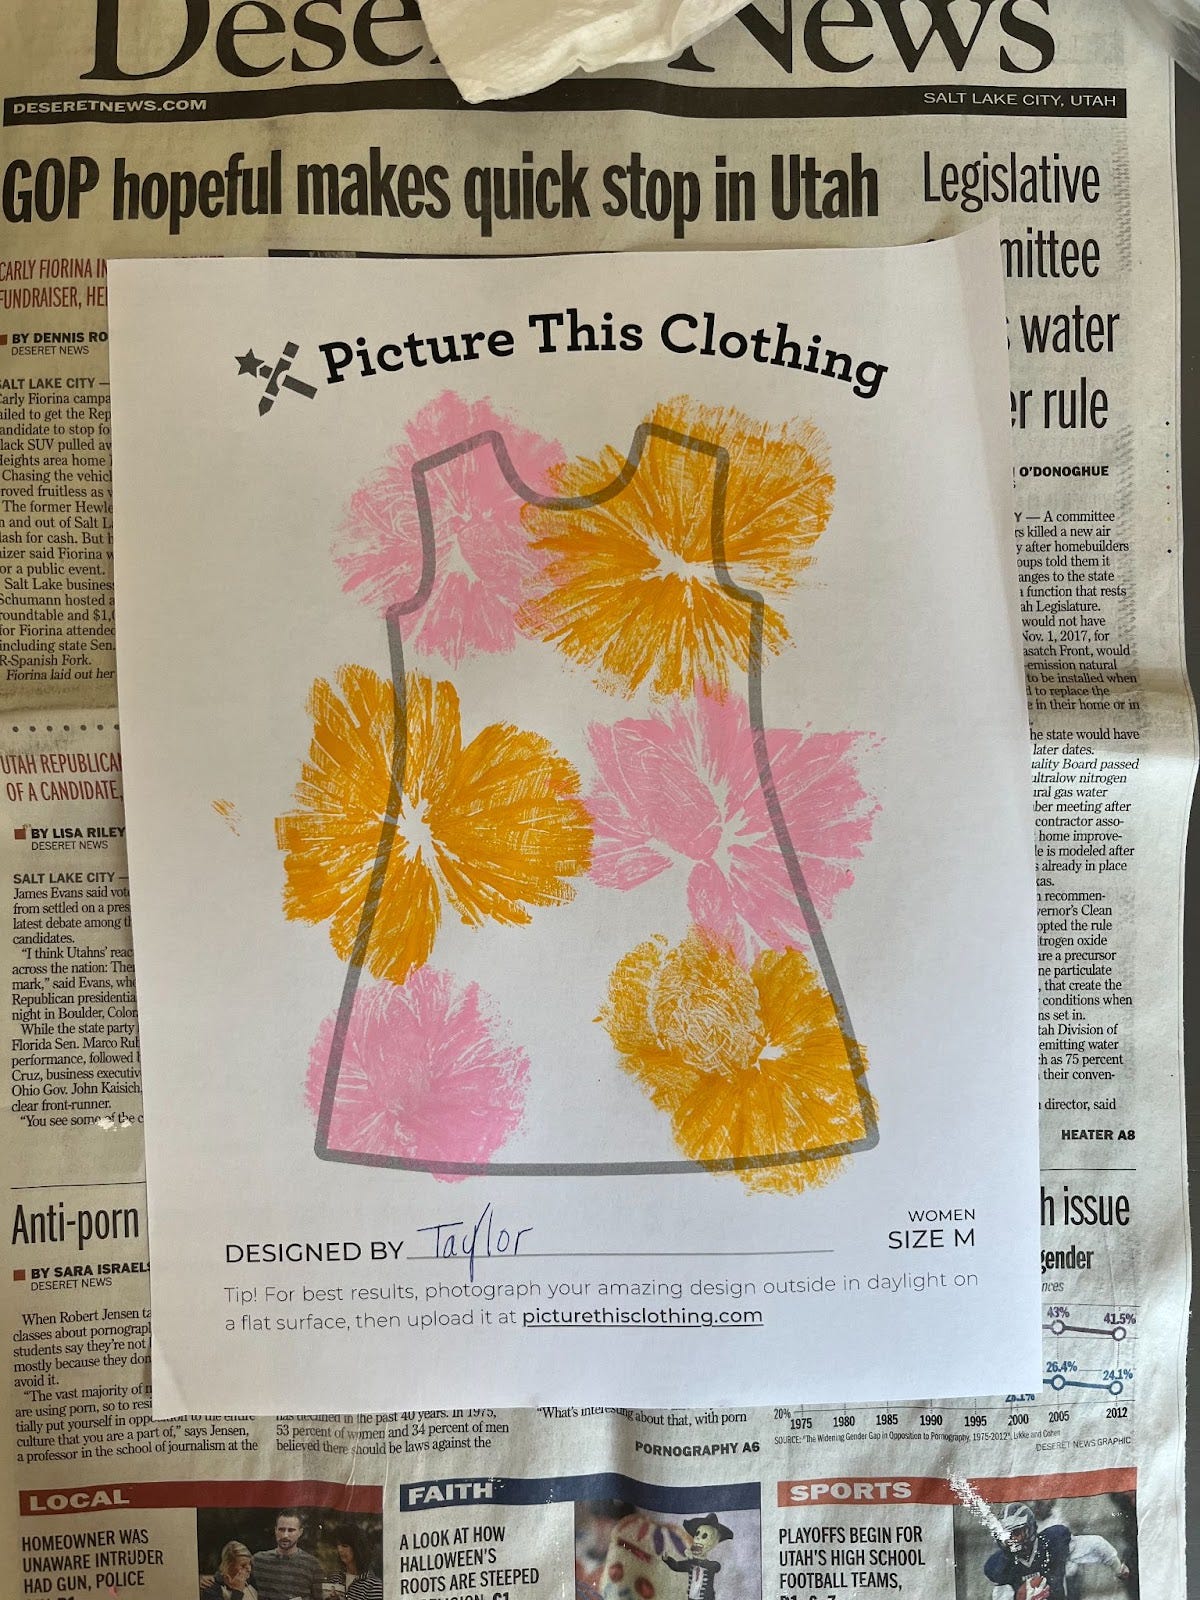
How It Turned Out:
Retrospective:
Looking at this a little bit after I designed and printed it: I would probably add a third color. I think that would pull everything together and help to fill in the white space that I left! Overall, I think it turned out really nice!
Regardless,
Seeing this printed is amazing. I just think it’s a cute design.
Absolutely something that I would wear!
Reflection on doing an art project:
I feel like I comment on the fact that I am not artistically-inclined in every experiment I conduct.
The idea of just doing an art project is a little bit challenging to me.
But, I have started to grow and learn more about the beauty of it. I’m starting to understand why people enjoy it!
This project is a perfect way to play and experiment in those early stages of enjoying art.
By doing something quick and easy, I was able to accomplish the goal and see the outcome quickly.
One day, I will overcome the need for instant gratification in my creativity.
But until that day, this project was perfect. I would absolutely do it again!
:) Taylor
BONUS FEATURE!
Use Magic Code: GIVINGTHANKS
at checkout to save 20% off any order placed by midnight PT on November 28!
(Even Gift Certificates!)
picturethisclothing.com